Sherwood Ranger - Making Parts - 6
*This web site is NOT owned or managed by G-TLAC. G-TLAC is not responsible for the content unless explicitly stated. See Disclaimer.
2/13/11 - .050 parts
1/2 hr - smoothed edges and drilled a few more parts.
2/13/11 - .125 parts
1/2 hr - drilled some 1" dia. holes in a few parts that called for them.
2/15/11 - .050 parts
1/2 hr - drilling more 1" dia. holes and changed out the bandsaw blade. Over the weekend, one of the brief moments of work I was drilling some 0.5" holes in a couple of .125 parts. The way I do it is to count steps on the unibit. 1, 2, 3, 4, 5. On the second one, I forgot that the 1/4" pilot is step 1, so had that engaged in the part, and counted 1, 2, 3, 4, 5. That's a 9/16" hole. Probably doesn't mean anything, but I'll make it over. Also identified a couple of the other .125 parts that came out with scratches on the back side that I didn't notice when marking them out on the large sheet. Still have some extra material, so I'll make those over too.
Also considering a how-to page, since I showed the cardboard patterns and the finished parts, but not really any intermediate steps. Possible topics are edge finishing, marking hole locations using the cardboard patterns, how to transfer hole locations from the first marked/drilled part to the other copies, and drilling 1" dia. holes.
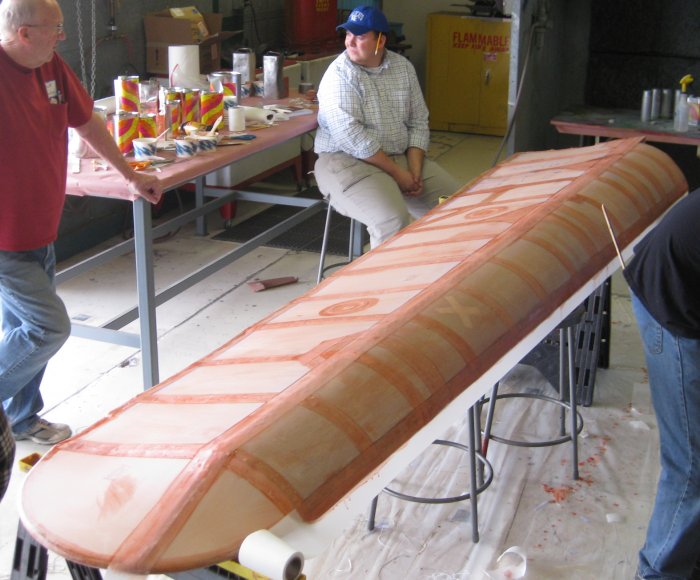
2/19-2/20/11 - fabric covering
No, I didn't somehow magically jump to the end. I attended the Sportair workshop for fabric in Phoenix. Tons of stuff to learn about it, but I'm fairly sure now that I can figure it out, so it's just the million other steps between here and there. Someone asked at what stage in the build do you cover the plane. The instructor's answer - when you can start it up, taxi it around, and the only thing keeping it on the ground is the lack of fabric... So that pretty well sums up when fabric goes on. One of the guys at the workshop showed me some photos of his single-seat high wing with a 50hp V-twin engine - photos of him taxiing it around without the wings. Only thing he had left to cover was the wings, and that's why he was at the workshop - for the rib lacing part of it.
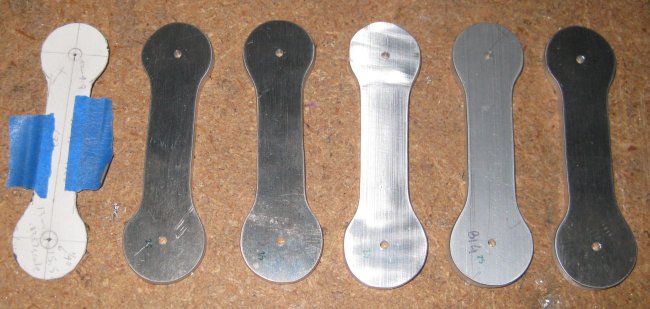
2/21/11 - .188 parts
1/4 hr - cut perimeter on one of the dogbone shaped .188 parts. The only .188 parts in the whole machine are little dogbones for connecting cables to the wings.
2/22/11 - .188 parts
1/4 hr - cut a second of the dogbones, and started belt sanding the rounded ends. Will need the spindle sander to do the sides.
2/23/11 - .188 parts
1.5 hr - got a decent chunk of time - cut out 3 more dogbone shapes, finished sanding and scotchbrite-wheeling all 5. Marked for holes in each end and pilot size drilled them. Looks like AN4 in one end and AN3 in the other.
2/25/11 - .125 parts
1/2 hr - sanded and scotchbrited 3 .125 parts. Also marked them and drilled the holes. Still a few more to go.
2/25/11 - .125, .188 parts
1/2 hr - bent the .125 parts in the landing gear to 11 degrees. That goes pretty quick with the 1/2" radius bending tool I built for the Sonex. Also drilled 5 of the .188 dogbone parts to final size. Material around the hole looks quite beefy.
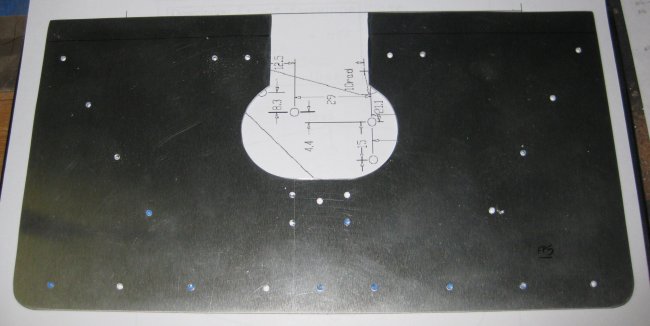
2/26/11 - .050 part
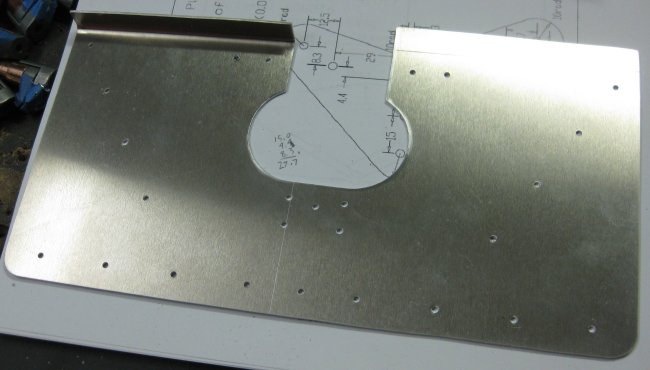
1/2 hr - made a pattern for one of the larger .050 plates, FP5 - careful with this one - I missed that all the central dimensions are pulled from a top dimension which is offset 1.5 mm from a side dimension and had to re-draw all of the center of the pattern. Would be much nicer to just pick one side as a datum and dimension only from that.
2/27/11 - .050 part
1/2 hr - marked, cut, edge finished, and drilled one of these FP5's.
3/2/11 - .050 parts
1 hr - figured out how to bend the FP5's. Made up a sample part from a scrap of .050. Bend in wrong place and wrong radius. Decided to try using a scrap of .125 angle stock - the cut off radiused flange as the piece to form the bend over. Second sample part - bend a great radius, right near the 2.4mm they specify, but in the wrong place. Resist the temptation to say I've got it and try the actual part next. Third sample part - great bend radius, and in the right place. Ok, now I have the setup. But the actual part is over 2x wider than my sample parts. Set it up - start the bend, but the brake just flexes - won't bend this length of .050 at all. How to do this? Well, there's a cutout in the center of the part, so maybe bend it twice, in two shots. So unclamp the part and set it up so it's half on, half off the brake. Good, the brake bends that, just like the sample parts. Ok, now set it up on the other end of the brake. Ok, close enough. There's no part that goes across the two halves of the flange, but there are parts that attach to each bent flange separately. Should work. Then marked, cut, edge finished, drilled, and bent a second FP5. 2 down, 2 to go.
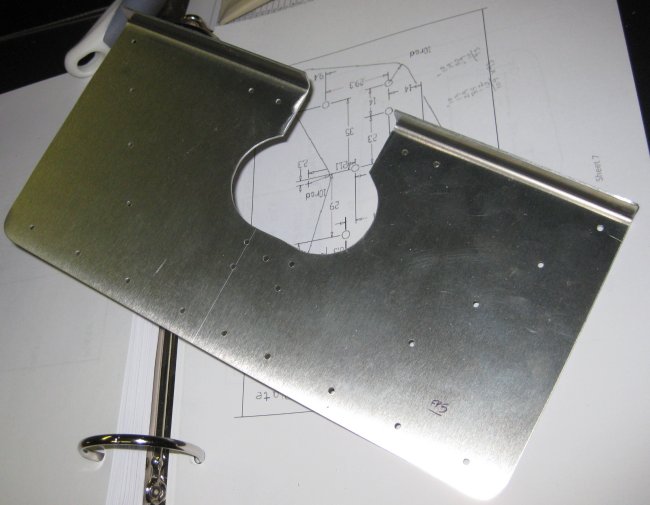
First one bent.
Trick to a low-capacity brake - bend half of the part at a time.
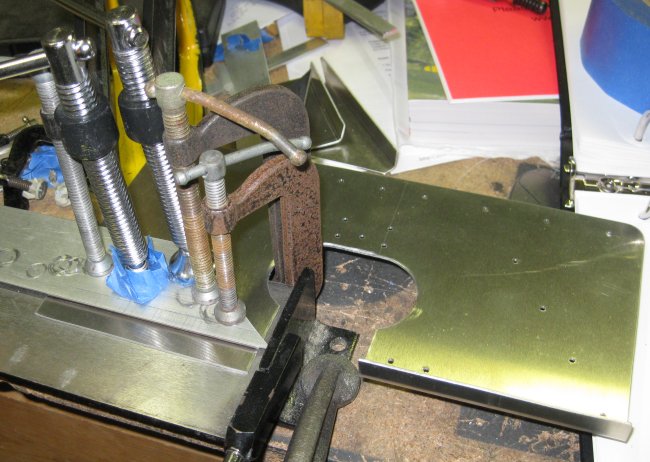
Setup looks ugly, but clamp the snot out of it so it doesn't slip.
3/7/11 - .040 parts
1/2 hr - bent up a couple of .040 parts. Angled. My guess is they join a 1 inch diameter tube to a 1/2" diameter tube. Anyway, made a few test parts from scraps to get the bends in the right locations.
A few days away from the project - 3/4/11 went to the Cactus Fly In at Casa Grande. On return, met Steve at the hangar and moved the Sonex to his hangar. 3/5/11 went back to collect stuff from my hangar and swept it out. All moved over.
Click to join sherwoodbuilders