Sherwood Ranger - Empennage - 2
*This web site is NOT owned or managed by G-TLAC. G-TLAC is not responsible for the content unless explicitly stated. See Disclaimer.
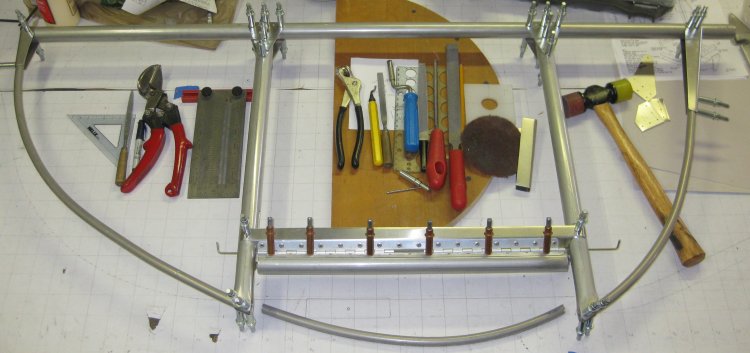
Continuation of empennage construction. Trim Tab.
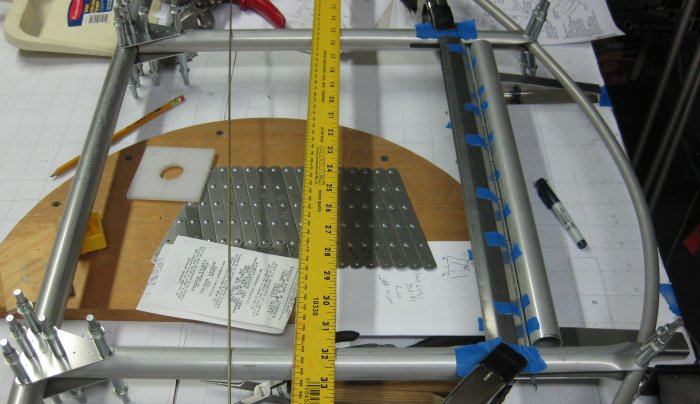
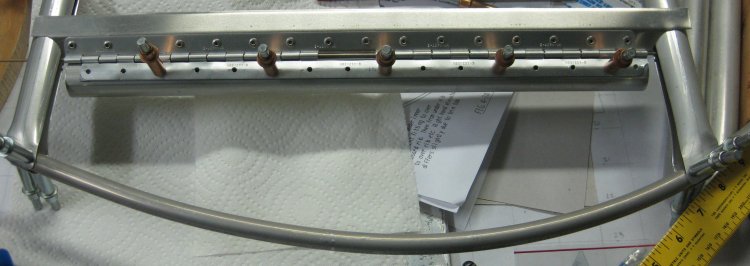
12/16/11 - TT7 - Rudder tube
1/2 hr - minor setback. Had not been able to find the rudder leading edge (spar) with the other elevator tubes. Figured it may have gotten put in with the group of wing tubes hung on the wall. This afternoon, had a need to move those tubes to get to some plywood between the tubes and the wall. Did not find the TT7 within these. Checked my parts list spreadsheet for the dimensions in order to know what to look for - and it's not on the spreadsheet! The other elevator tubes are on sheet 4. Looked through my printed copy of sheet 4. It's not there! Brought up the original .pdf file of the G-TLAC Cad file for sheet 4, and there it is! I had failed to transfer it over to the pages I printed, so it didn't make the spreadsheet, so it wasn't in the planned tube buy, so guess what - I don't have enough spare tube of that size to make one.
Later - may see if I have enough .065 wall for this. The other tube is .058. Plans call for .056, but .058 is the actual common size around here. Little spreadsheet in the weight difference shows it is almost exactly 1/10 of a pound to use the higher wall thickness. Will check how much a replacement tube will cost.
That tube is 3.25/ft, not including shipping. That's $16.25 for 1/10 lb, or $162.50/lb. That's probably out of my price range for weight reduction. Time to build trim tab and consider replacing the rudder spar tube.
12/17/11 - Trim tab
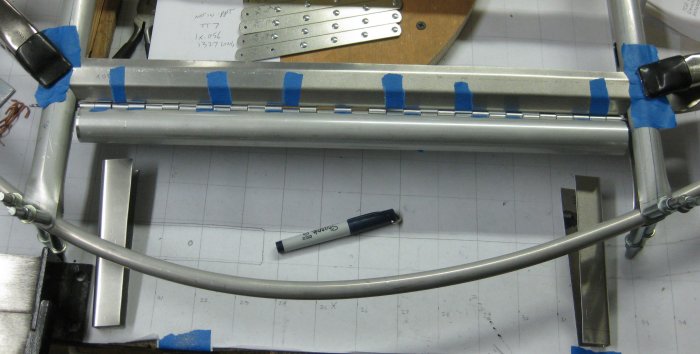
3/4 hr - noticed on the factory website, photos from a builder in France that he did not include the trim tab. Is it really that important on something this light and with a relatively low speed range (38-~80 mph)? Anyway, measured and cut a trim tab spar tube. Used 400mm because it isn't defined in a print, and this leaves ~5mm per side (gap) to the elevator ribs. Located the trim tab ribs. One is a good bit shorter than the other, and it looks that way in the figure, but the curve of the elevators I have puts both ribs about equal. Also, no fore-aft dimension for where to put the elevator trim tab attach rib - eyeball it? Tried the lower rib that I had - made to be 1" across the U at the wide end - not wide enough. Made a .025 rib at 125 deep (rather than the 115 shown in the plans, and 1 1/4 across the U at the wide end - too wide. With the spar tube in there, the rib is too short. So bent up another with 1 1/8 across the U at the wide end (again 125 deep), and it looks like this will work. So will make up another for the top of the trim tab next time.
12/20/11 - Trim tab
3/4 hr - filed the ends of the vertical rib that mounts the trim tab to the elevator so it fit between the two elevator ribs. Next, how far back to set the vertical rib (what defines the chord of the trim tab)? Pulled the rib made on 12/17 and guess-timated how wide the tab would be using that rib. Got out some piano hinge. Cut that to length. Taped the hinge to the vertical rib. Hm. How to bend the hinge that goes on the tubular trim tab spar? I used the hand seamer, narrow side, making bends in ~ 1.25" increments. Might be able to get this relatively straight on the tab spar tube by having it held to the other hinge half with some hinge pin while drilling it to the tube. Anyway, with the now-bent hinge taped to the spar tube, and the hinge halfs held together with old #40 drill bits (slip right into the hinge lugs), could see where the spar tube sits. With the vertical rib forward edge ~13 5/8" back from the elevator spar tube, the trim tab looked about like the chord shown in the assembly figure. With this much mocked up, it looks like the thinner-stock rib I had already made would work without having to make another one.

Might still adjust that 13 5/8" number when I get the end ribs on the trim tab, but it looks pretty good so far.
12/21/11 - Trim tab
1/2 hr - drill trim tab hinge halfs. Drill the hinge halfs to the rib and the trim tab tube spar. Used jig for quick drilling (don't mark the hinges - drill jig is just a couple of nails spaced along a line).
12/22/11 - Trim tab & first rivets
3/4 hr - saw I didn't finish pilot drilling through the bent hinge on the tube side, so finished that. Then final-size drilled both sides of the hinge. When doing the tube side, since that hinge was bent, I final drilled that with the hinge pin to the other hinge half in place. Pulled everything apart and deburred. Cut some lugs from the center of each hinge - this will allow 2 shorter hinge pins to be installed from the center so the tab can be hung back on the elevator after it's all covered and painted. Cleaned off all markings from the hinge and elevator rib and riveted the elevator side of the hinge to the rib. First rivets!
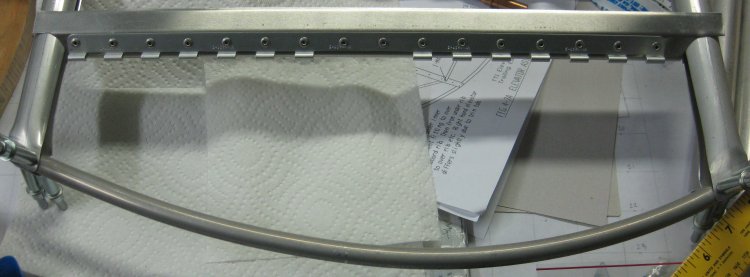
Only ~14 months in, first rivets pulled.
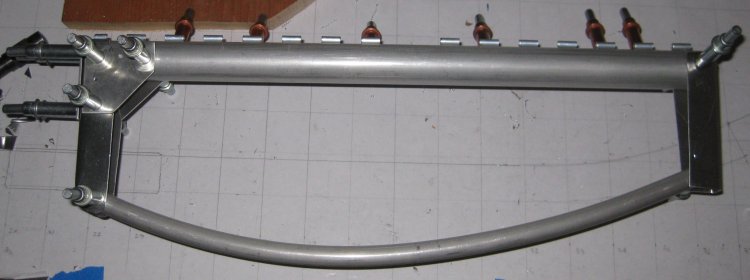
Trim tab leading edge / spar tube pinned to the elevator rib.
12/23/11 - Trim tab
1/2 hr - cut 2 hinge pins and bent the ends. Will need to figure out a little clip or something for safety wire to hold the pins in. I doubt they would go anywhere, but good practice to secure hinge pins anyway. Though on the Sonex cowl, there's a hinge pin on each side that installs from the bottom up - and no wire or clip or anything to hold them in. On my Sonex, the one on the left does back out at maybe 1" per hour. Not sure what to do next. So filed on the ends of the tab spar tube a little to give better fit into the tip ribs. On these, the tube end is covered by the rib because the actuation crank arm rivets are installed where the end of the tube is, so the rib needs to overlap the end of the tube. Looking more like I will go with my estimate of where the vertical rib goes, get that clecoed in place, then cut the trailing edge tube out and make up the tab from there.
12/25/11 - Trim tab
1/2 hr - well, that's it. Cut the trailing edge. Drilled the vertical tab attach rib to the upper and lower ribs first, then marked the trailing edge in place. Quickly figured I could not bring the entire assembly to the band saw, so un-clecoed the trailing edge tube out of the assembly and cut that. Sanded the tube ends smooth, scotchbrited, and deburred the ID's. Cut slight relief on the cut-out section for a total of ~1/4" gap per side of the cut. Clecoed the upper and lower trailing edge pieces back into position. Pinned the tab spar to the hinge and held the lower tab rib in place. Attempted to hold the trailing edge into the tab rib, but the tab rib is a triangle, so squeeze the rib and the trailing edge just squeezes out. So not sure how to get this back together yet.
One way or another, it's going to have a trim tab. The cut-out section looks quite short because it is sitting on the table while the rest of the assembly is set up off the table on the clecoes. There is really only ~1/4" gap on each end of the trim tab.
12/26/11 - Trim tab
3/4 hr - trimming, fitting - it's coming together. Not quite done yet, but enough holes are drilled and enough flanges are profiled to achieve the final shape. Still some trimming and bending of flanges to get it all smooth, plus drilling all the holes, final sizing the holes, debur & rivet.
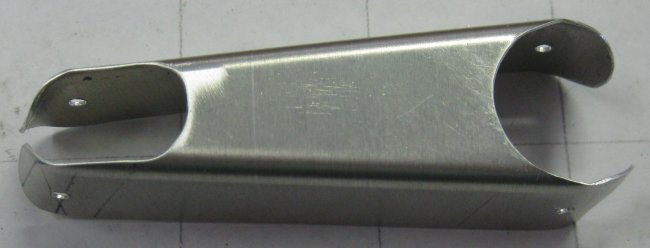
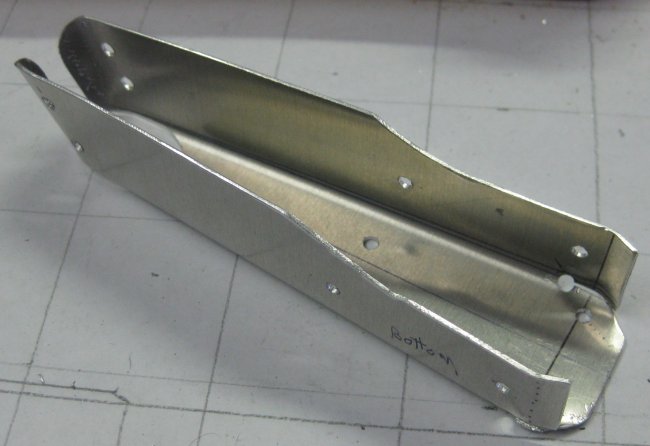
Top view of the tab assembly.
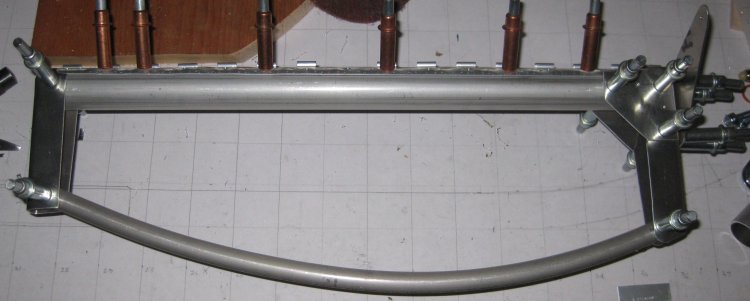
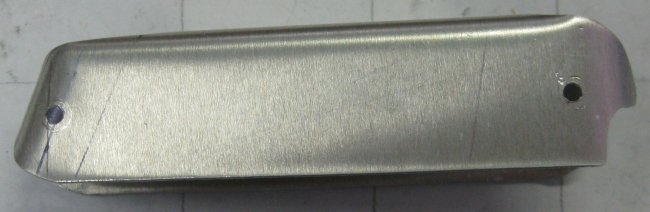
Bottom of the tab assembly.

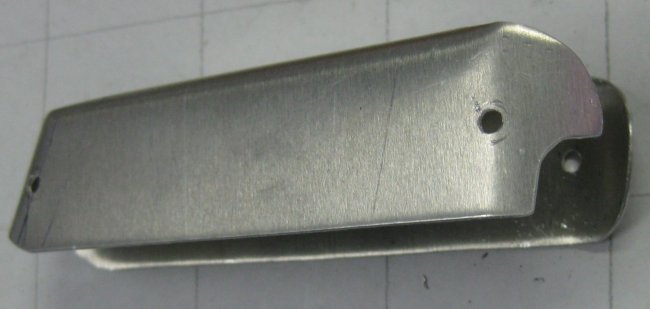
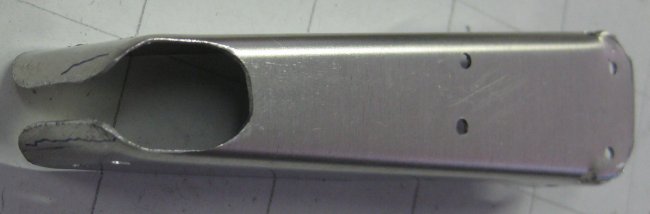
Inboard end of the tab with the crank arm.
Contemporary design study
I have been reading through the Juptner series of books where he catalogs all of the U.S. type certified aircraft (#1 - #817? in this series). This type of design - a straight-wing biplane was fairly common in the late 1920's / early 1930's. It seems all of these feature an in-flight adjustable horizontal stabilizer as the means for trim. Part of achieving this, however, is that the cable bracing for the stabilizer can only attach at the aft tube, where the elevator is hinged. On the Sherwood, there is a brace cable to this tube, but also to the leading edge tube, as is more often seen on (later) aerobatic biplanes. I believe this was chosen to allow a lighter stabilizer structure, and to simplify the stabilizer attachment (no in-flight adjustment mechanism). So a trim tab on the elevator does not appear to be period-correct with the nearly non-swept wing (there were swept wing biplanes in this period as well, but also quite a few straight-wing). But there does appear to be a good structural reason for a tab.
12/27/11 - Trim tab
1/2 hr - trimming edges, rounding flanges, etc. Making the various flat parts curved where needed to fit around tubes. Since everything shows through fabric, I don't think I have the fit of these parts where I want it yet.
12/28/11 - Trim tab
1 hr - adjusted the fit of the lower gussets to wrap around the forward tube better. Rounded corners on these gussets. Drilled the remaining few pilot-size holes. Drilled everything to final size. Disassembled. Deburred. Removed all markings (Sharpie ink will bleed through fabric coverings and paint!). Clecoed the hinge back to the tube. Riveted this first. Clecoed the rest of the assembly together, minus the bellcrank plate. Riveted all this. Used a -4 length rivet in 2 places - where the gusset overlaps the end rib and the tube (only place there is 3 layers). After getting the ribs riveted to the leading and trailing edges, then clecoed on the bellcrank and riveted that on. Total: 40 rivets. Test fit on the elevator - looks good. It pays to take some time to fuss with the bent forward and aft ends of the ribs - the rivets pull a bit tighter than the clecoes, so it came out a little tighter looking than I thought it would.
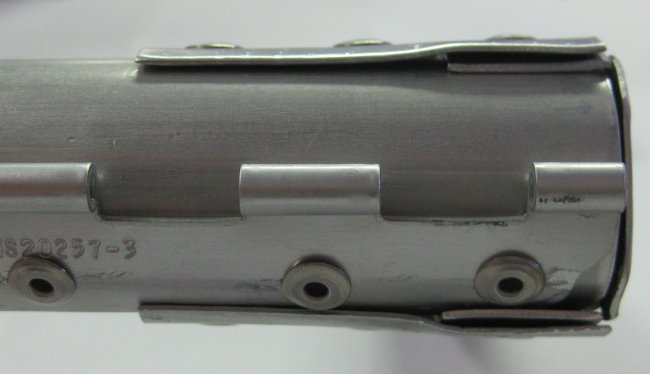
Upper tip rib.
I guess I was impressed with how much forming there ends up in what starts as a tapered U channel.
Upper tip rib clecoed to the end of the trim tab.
Lower tip rib. Drilling not done yet - there are a couple more holes for the bellcrank plate.

Lower tip rib clecoed to the bottom end of the trim tab.
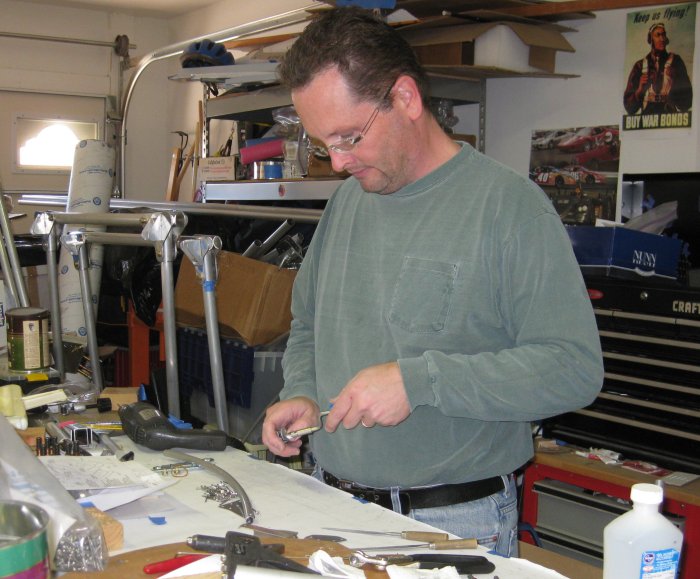
Me deburring a tip rib.
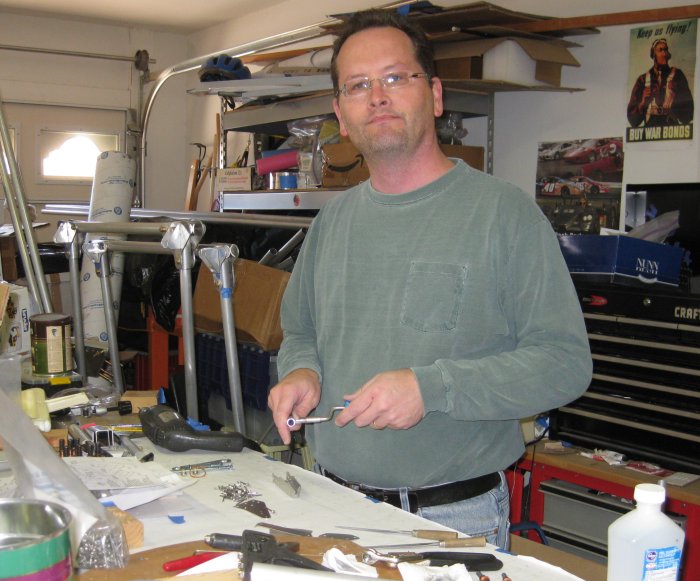
Me deburring the trailing edge tube.
Forward edge of the lower end of the tab assembly.
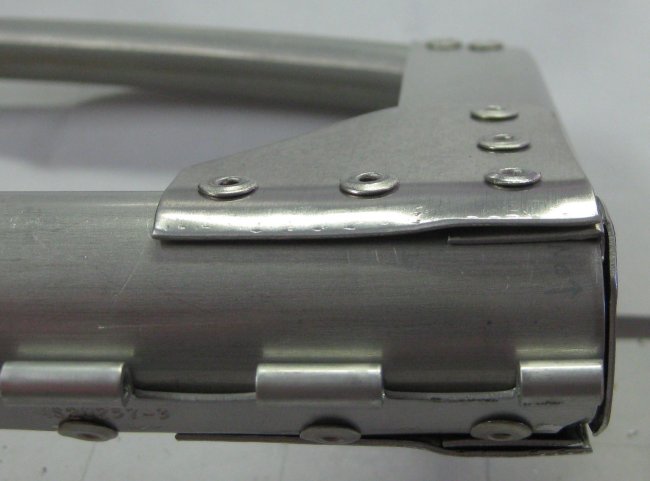
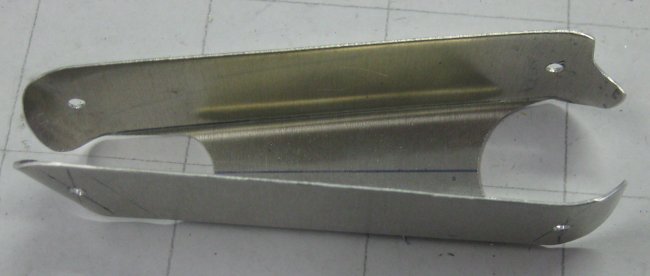
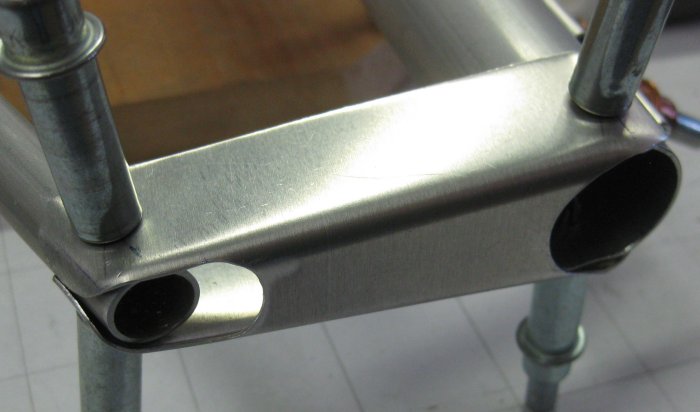
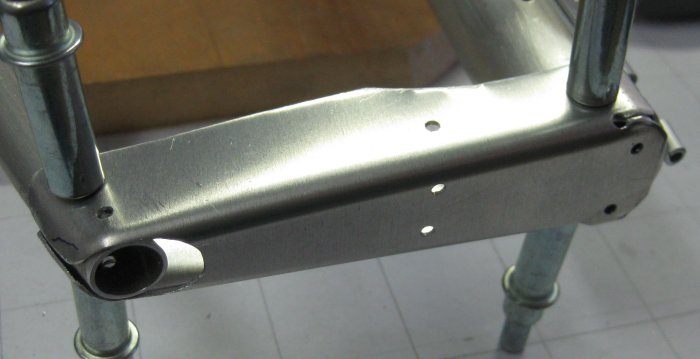
Trim tab structure riveted up. Bellcrank plate not installed here.
Trim tab in place on the elevator structure. Bottom side. So hinge and hinge pins are out of sight when it's on the ground.
12/28/11 - Elevator
1 hr - with the trim tab out of the way, back onto the elevator. All this time was drilling the remaining pilot holes, tweaking edges that stuck out, and measuring and drilling the rib lacing holes. Still need to final size drill it, debur, and rivet, but all of the little detail bending and edge-smoothing should be out of the way.
End of this page.
Click to join sherwoodbuilders