Sherwood Ranger - Empennage - 3
*This web site is NOT owned or managed by G-TLAC. G-TLAC is not responsible for the content unless explicitly stated. See Disclaimer.
Continuation of empennage construction. Elevator and possibly into Horizontal Stabilizer
12/29/11 - Elevator
1/2 hr - final size drilled elevator with the trim tab. Still need to final size the hinge attach holes before deburring and riveting.
12/30/11 - Elevator
1 hr - final size drilled the hinge attach holes. Disassembled. Deburred and cleaned all the parts. Need ALL ink-marks off because any ink will bleed through (at least with the Poly-Fiber covering system - I would expect that water-based systems such as Stewart might not contain solvents for ink).

Elevator parts for the trim-tabbed elevator. Pretty small all taken down.
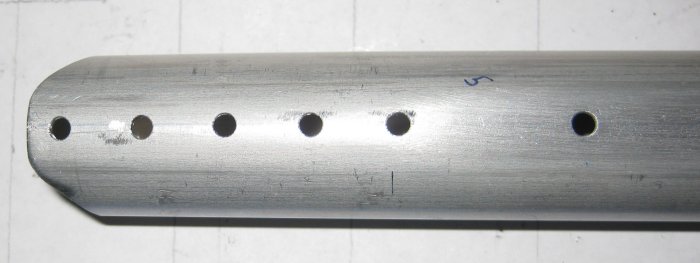
Detail of how the gusset plate fastener holes work right into the fishmouth on the end of the tube. Not a surplus of edge distance there, but there are a lot of fasteners.
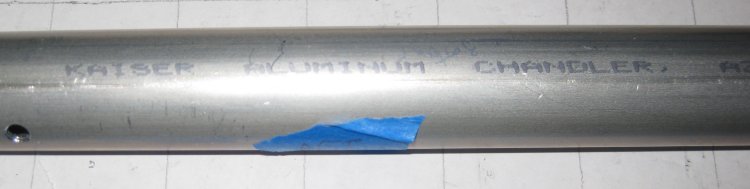
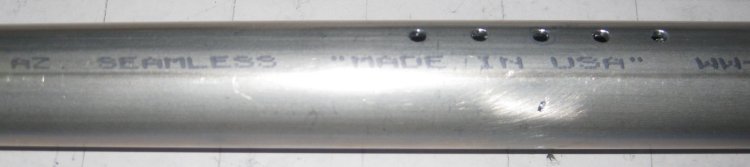
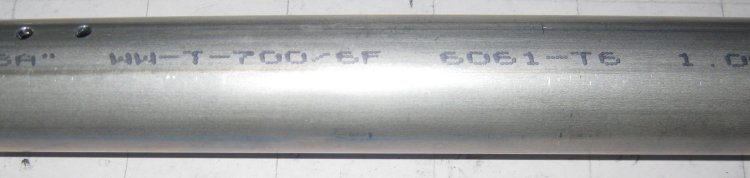
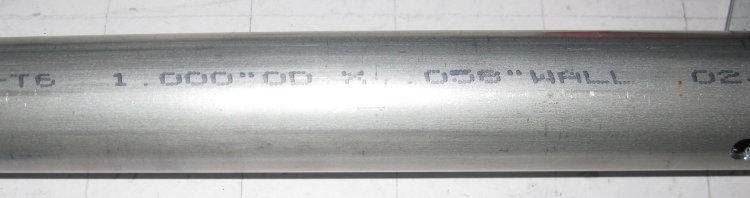
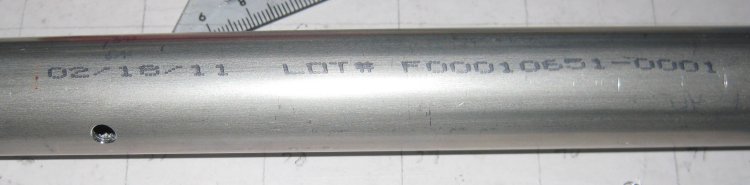
Just wanted to capture the markings on the tube before I wiped them off.
12/30/11 - Elevator
1/2 hr - reassembled and riveted. 66 rivets for the elevator itself, 82 including the trim tab hinge. Adds up quick. And for whatever reason, about 10 seconds after pulling the last rivet, realized I had left out the diagonal straps. So that's at least 2 rivets that will be drilled out. Not sure about the aft ends of the straps - those may attach at separate, dedicated holes. So not that big of a deal. I am always impressed with how much lighter the structure is when the clecoes are no longer on it...
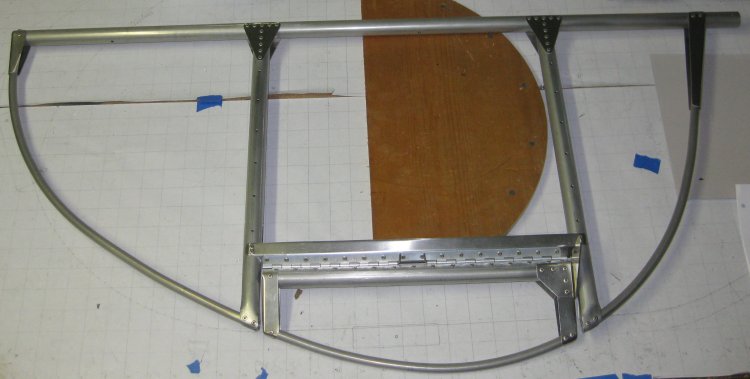
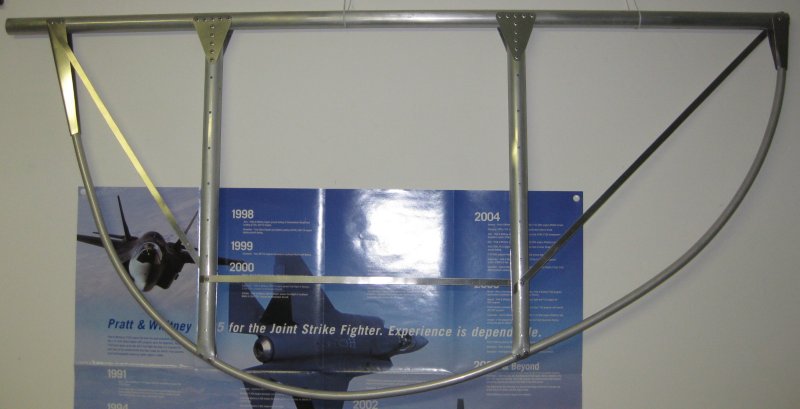
Nearly completed elevator. Still missing diagonal straps in the upper and lower bays, but those should not be too hard to add.
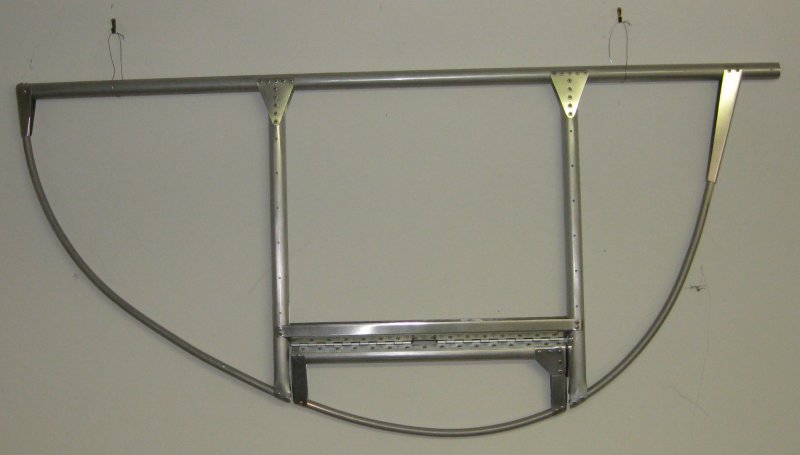
Nothing new here. Just hung on the wall - so the photo might have a little better perspective for the shape of the part.
12/30/11 - LH Elevator
1/2 hr - switching back to the other elevator. Finished drilling the remaining pilot-size holes. Worked on the diagonal straps (what I inadvertently left out of the other assembly). Have the straps rough-cut out, so filed the edges and ran these on the Scotchbrite wheel. Marked and drilled the elevator ribs - decided 3/4" forward of the 2nd to most aft rib lace hole looked about like on the assembly print (no dimension given). Drilled one strap to this length - it hung a bit loose. Fortunately could re-use it as the next segment is shorter. So drilled it for the shorter segment - a hair tighter than my mark, and it went into place with slight tension (as called for on the assy print). 2nd try on the first segment - got it a little more snug. Only filed/smoothed 2 straps, so the 3rd segment will be done later.
12/31/11 - LH Elevator
1/2 hr - prepared the 3rd strap. Got all straps drilled into position, cut to length, ends filed and bent to wrap around the tubes they attach to. Also marked & drilled 3rd rivet hole at inboard trailing edge tube bracket to match what I did on the other side. Up-drilled some of the holes to final size.
1/1/12 - LH Elevator
1/2 hr - completed drilling. Disassembled. Started deburring. Still some detail edge-bending / smoothing and cleaning markings off all of the parts. Then it can start to go back together.
1/2/12 - LH Elevator
1/2 hr - cleaning parts. Bent the forward edge of the small triangular gussets. Don't know why, but today I decided that rather than use the needle nose pliers for this, some vice-grip pliers might work better (stay locked on, smooth jaw at the tip). Got those out of the tool box and bent these parts. Worked well - less in the way of tool marks to clean up.
1/2 hr - later. Finished the cleaning & bending. Reassembled. Pulled a little over 1/2 of the rivets. Had one that expanded without the head all the way down. Will drill that one out & replace.
1/3/12 - Air Compressor / LH Elevator
1/2 hr - set up new air compressor. Finally got one that is oiled. Supposedly these are quieter than oil-less and last longer. It's also sized more reasonably for the rivet puller (4 gallon vs. 27 gallon) so the tank will fill up a lot quicker. Added the oil and did the break in run. Then shut the tank valves and let it fill. Plugged in the air hoses and dragged out the old, rotten HF rivet puller.
1/2 hr - pulled the remaining rivets on the LH elevator, including drilling out and replacing the rivet with the bad pull. Remembered why I hand-pulled the last ~1000 rivets or so by hand on the Sonex - that HF riveter is pretty junky. It doesn't release the stem of the pulled rivet, and pushing another rivet in to try and force the previously-pulled stem out just gets both items stuck. Then it has to be disassembled.
Note - I did some research online, and I believe I may have found where the adjustment needs to occur. Will try again some other time - the puller just might be made to work.
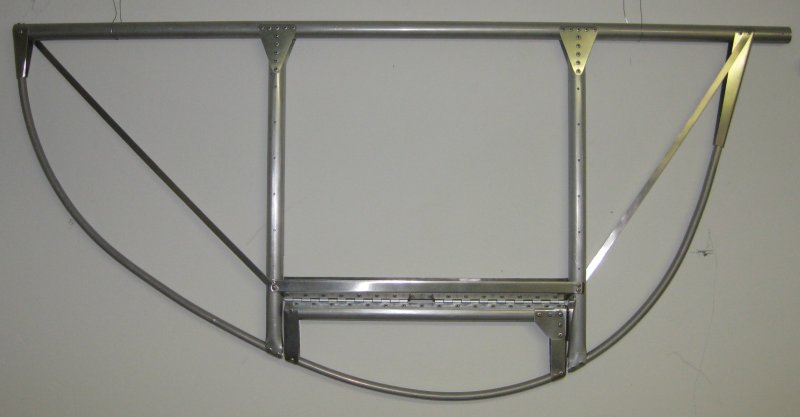
Optical illusion - that leading edge tube is not actually bent.
1/4/12 - RH Elevator
1/2 hr - no, it's not done. Left out the diagonal straps in the inner and outer bays. So, prepared the straps from rough-cut strips (filed off the shear marks, ran the edges over the Scotchbrite wheel). Also includes some time for re-arranging things and hanging the LH elevator on the wall.
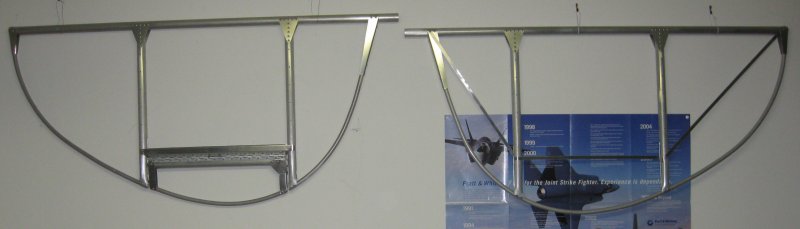
Another optical illusion - these are actually the same size. These are on the wall bottom-side out. Right-hand elevator is on the left and vice versa.
1/5/12 - RH Elevator
1/2 hr - Filed / Scotchbrited a couple more of the control surface straps. Got part way through installing them on the RH elevator. Got 3 of the 4 needed rivets drilled out. Decided to use existing rivet locations on the trim tab attach rib, since these are closest to the same distance from the trailing edge as the rivet locations I selected for the LH elevator. So far, this seems to be working out pretty well.
1/6/12 - RH Elevator
1/2 hr - Completed the strap installation. Filed smooth another rough-cut strap for use on the rudder.
1/8/12 - Rudder
1/2 hr - Finish smoothing the 3 straps for the rudder. Collected the rudder parts together. Confirmed that I made only 1 of 2 of the top rib needed. The top rib starts as a U channel, not a tube. Made up a blank for another rib from some .025. Will need to use a brake longer than the one I have to bend it.
1/9/12 - Rudder
1/4 hr - filed and smoothed the V cut in one of the ribs.
1/10/12 - Rudder
1/4 hr - same sort of filing, 2nd rib.
1/14/12 - Misc. parts
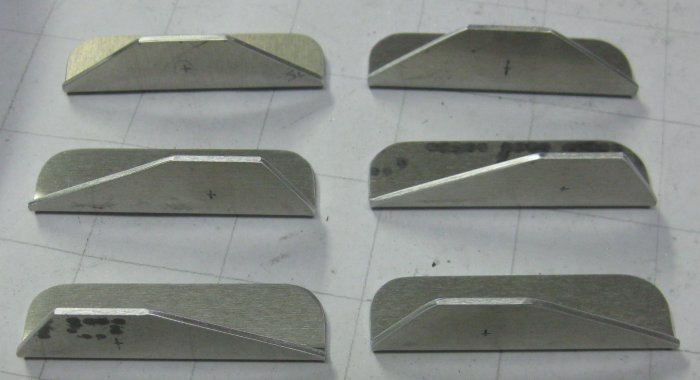
1 hr over the past 2 days - made up 6 seat rail support brackets. Drawing is correct in quantity, just took me a while to understand - I know there will be 6 brackets - front and rear of each of two front seat rails (4 brackets), then 2 more for the forward end of the rear seat rails - the aft end of these sit on something else, no brackets needed. Anyway, made 1 bracket from a rejected U channel. Decided it was easier to bend up a new bracket than to cut one more from the other rejected U channel that I have, since 4 more need to be cut fresh, so just cut 5 fresh. Rounded the corners on one side, put the bend in, then marked the cuts for the LH, RH, and symmetrical brackets. Still need to drill the holes.
Click to join sherwoodbuilders