Sonex* 3rd Build 2
*This web site is NOT owned or managed by Sonex, Ltd.. Sonex, Ltd. is not responsible for the content unless explicitly stated. See Disclaimer.
Using the spreadsheets from the Sonextalk Yahoo groups, I planned the size of each sheet thickness needed.
For the .060 parts, I only needed 6" x 12" because I had a little extra scrap.
Without the scrap, all but the carb heat box flapper could come from the 6x12 sheet.
.060 parts laid out on the 6x12 sheet.5/7/05.
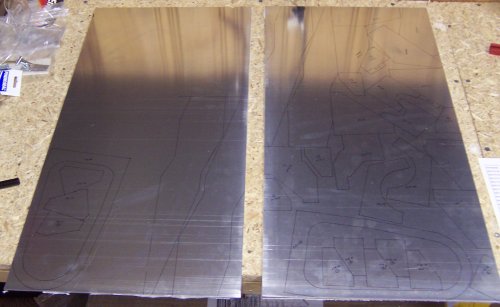
The .090 parts required 2 of 12"x24" sheets - with a generous amount left over. 4/30/05.
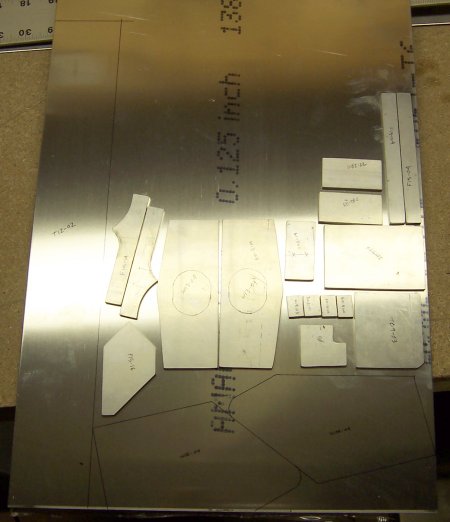
I ordered a 12x18 for the .125 parts, and receved a 12x24. T12-02 (left side of photo) sets the minimum size needed. The parts sitting on top of the sheet are from other scraps that I had. The many rib spacers at the wing spar I will gather from angle stock trimmings. 5/7/05.
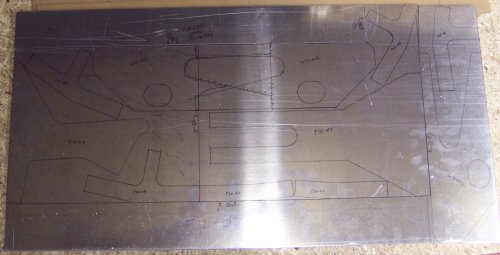
.190 parts laid out fairly easily on 12x24. The flap and brake handles I can probably get from angle stock trimmings, but I reserved a section of this sheet anyway. Note I reversed the aft spar attach fitting to allow for a longer straight cut across the sheet. 5/11/05
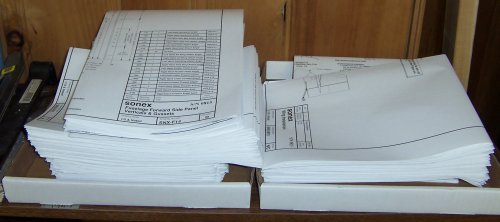
First day on receiving plans #815 I spent by removing the binding on the plans and folding into 9x12 sheets. The sheets are then sorted by wing, tail, fuselage, and all other. This way, it is quick to access sheets in any order. Also can "complete" some sheets by making decisions about engine mount and gear configuration (move those sheets to the completed stack). Also prevents ending up with a messy roll of plans. True, the disadvantage is one sheet can go missing, but also if something gets spilled or dropped on the work table, only a sheet or two will be effected at a time. 4/30/05
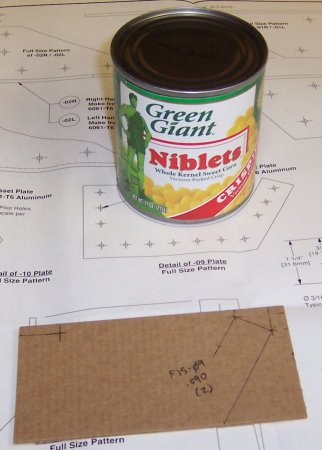
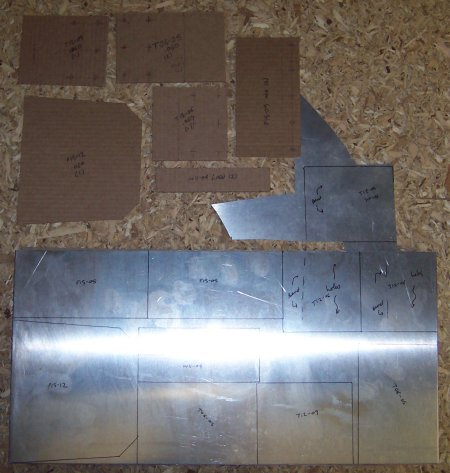
Use what you have to get that perfect radius. I am transferring almost all of these plate stock parts onto cardboard templates by starting with rectangles the size of the overall part. Put the cardboard over the plans and mark corner points for the part, then using the dimensions and measuring the rest, mark out the whole part and all hole locations. Cut out the cardboard, trace onto metal, cut metal. It is not convenient for me to make copies cut out and glue. After making a few cardboard parts, it goes pretty quickly. The thin corrugated cardboard (from warehouse-store cereal boxes) works very well - easy to cut but not too thick. 4/30/05