Sonex* Aft Fuselage 3
*This web site is NOT owned or managed by Sonex, Ltd.. Sonex, Ltd. is not responsible for the content unless explicitly stated. See Disclaimer.
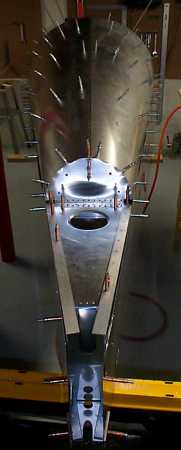
Turtledeck pilot drilled. 10/22/99
Former #3 removed to finish pilot drilling lower corners. 10/22/99
I could not get the drill in from behind to pilot drill all of the lower former holes, so I drilled a few holes I could reach, then pulled the former and cross-frame, clecoed together on the table, and pilot drilled the rest of the holes. Holes were opened to final size from the front when reinstalled in the fuselage. (This works because the vertical frames are already piloted.) 10/22/99
Drilling #2 former to center clip. 10/22/99
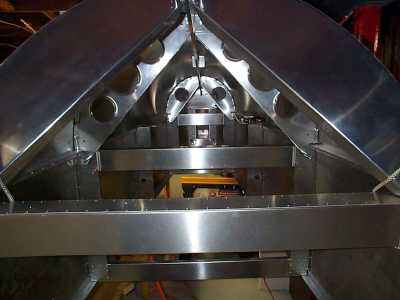
Finally all the holes are drilled, so it comes back apart for a marathon 5-hour debur session. 10/23/99
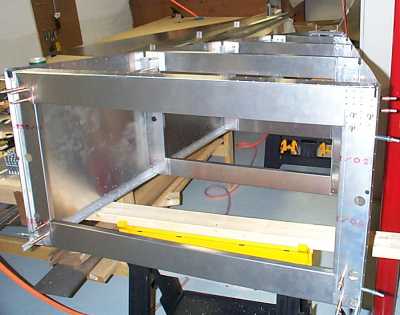
Back apart for debur. Note shoulder harness mounts already riveted to upper longerons. These make convenient internal shelves for clecoes. 10/23/99
After turtledeck was completely drilled, there was still a lot of drilling & fitting to get the tailwheel mount installed. The steel burned up a set of bits from 1/8" to 3/16" (in 1/64" steps) I got 9 holes/bit in the steel. I was not using any lube or tapping fluid. Use something, or buy a lot of bits. 10/24/99
This is why you don't need to worry about torquing the aft spar bolts of the vertical tail while building the vertical tail. All those bolts have to come out anyway to fit the aft channel to the fuselage. (I have some extra #30 holes in this channel because I drilled the bolt pattern incorrectly.) 10/24/99
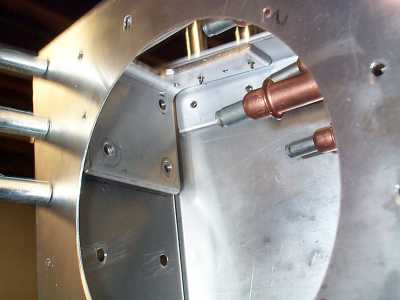
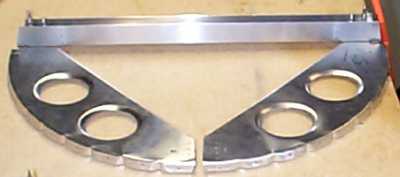
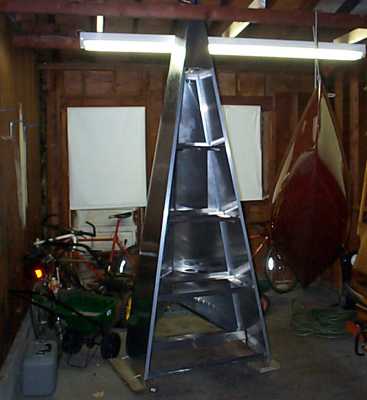
Aft upper angle. How to drill this (up through the longeron from the inside)? 10/24/99

The angle drill isn't always used with the stub bits. 10/24/99
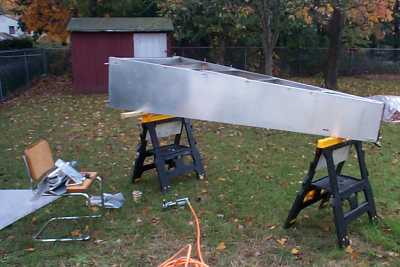
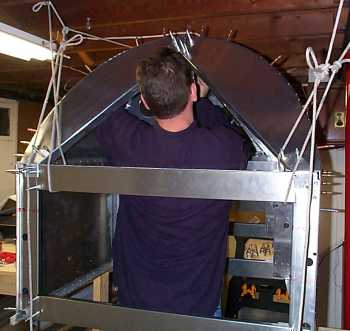
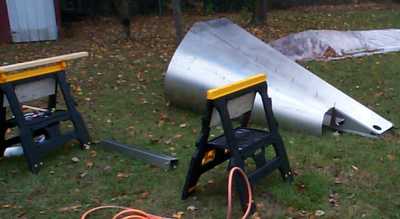
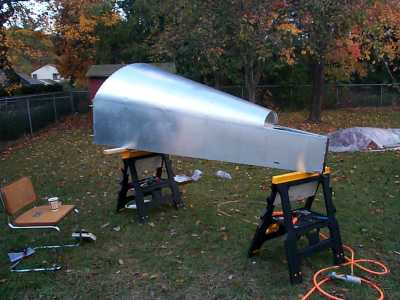
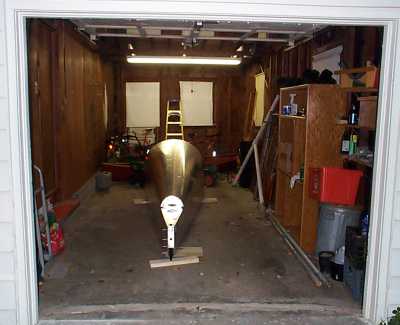
This is what fits out of the basement door. See? You can build it in the basement. 10/24/99
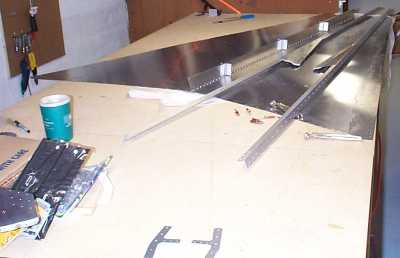
No table, so I reinserted the skin on the ground. Tried doing the ground-side first, but it caught a lot of grass. So I left the ground-side close, and got the upper side clecoed in. In this shot, the ground side is not in place. 10/24/99
Build it in your back yard! No, just shoot rivets like crazy to finish before it gets dark. As far as order goes, rivet the forward & aft clips to the upper skin center channel while the upper skin is still flat in the yard. I didn't. The front one was easy enough with the formers out, but the back one I barely got with the hand rivet puller. After reinserting the t-deck skin, you can bolt in the R & L side upper splice plates. Then cleco the upper forward cross beam in place (it can be maneuvered around the side upper splice plate bolts). Then bolt in the R & L top upper splice plates. Once these bolts are in, then rivet. I don't know that riveting order makes much difference - I did the upper longerons first, then went over the top of the t-deck, then did the inside. (This takes several iterations - I don't pull clecoes until all empty holes have rivets, then I pull all the clecoes and fill these holes.) 10/24/99
Why we have garages. I had help getting it out of the basement, but I carried it around to the garage myself. I held it upside down by the center cross beam. 10/24/99
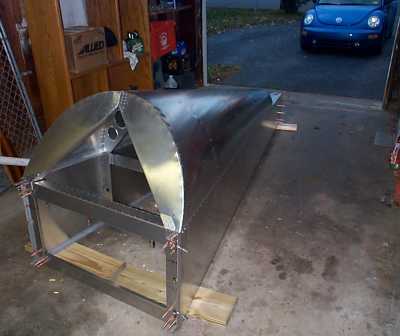
The car isn't going to live with that. 10/24/99
How to keep the car happy, for part of the winter, anyway. I didn't pop the bottom skin on because I still need to do the elevator pushrod supports. I will do these when I have the pushrod in place (I think). 10/24/99