Sonex* Forward Fuselage 2
*This web site is NOT owned or managed by Sonex, Ltd.. Sonex, Ltd. is not responsible for the content unless explicitly stated. See Disclaimer.
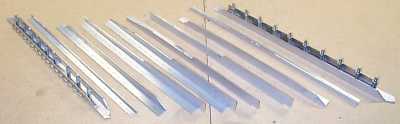
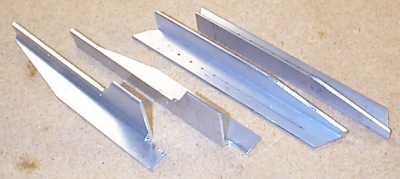
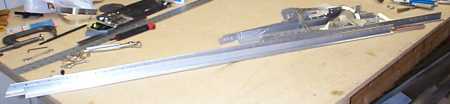
Fuselage side angle details (R & L). 11/7/99
Fuselage side angle details from 2.5x2.5x1/8. 11/7/99
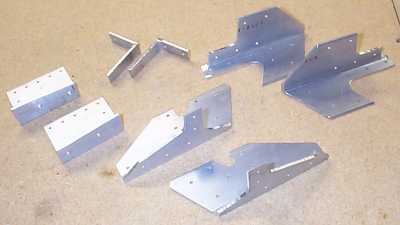
Small angle parts. 11/7/99
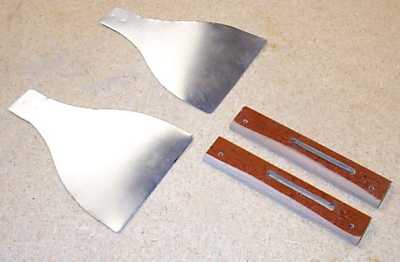
Vent doors and phenolic canopy latch plates. 11/7/99
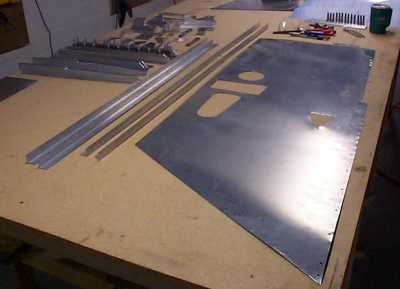
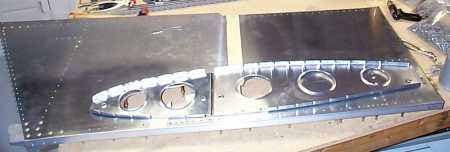
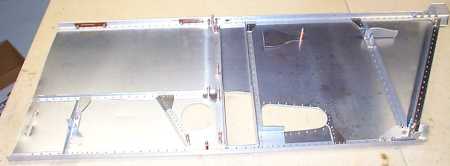
After 2 weeks, these are all of the parts. The side skin itself took ~5 hours. The inside holes were not easy to cut. A nibbler would work well here. 11/7/99

Drill from the angle drill kit to get around the taller angle parts. 11/7/99
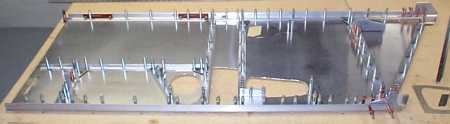
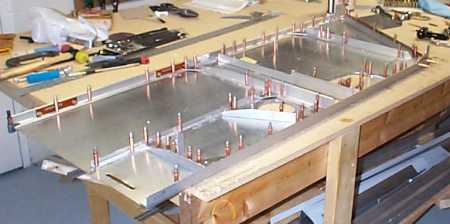
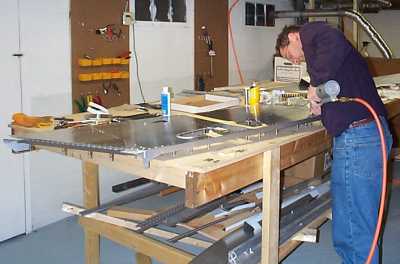
Side panel pilot drilled. 11/7/99
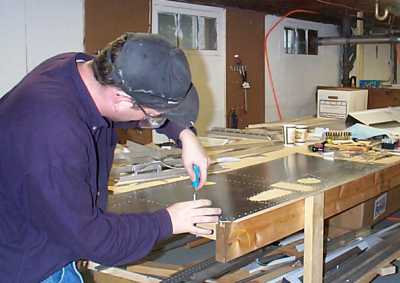
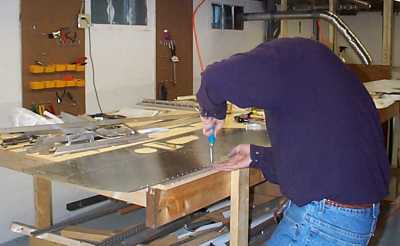
Final drilling. Again, my entire cleco collection sits on one part. Unlike the tail cone, however, I did not have to rotate these to keep on drilling. After this, just pull all the pilot clecoes & final size those holes. 11/7/99
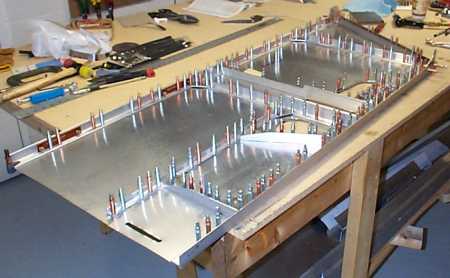
I found that drilling from the outside of the skin to the frames within works well for final hole size drilling - the burr is less on the skin side, and the thicker framing pieces are more tolerant of deburring (much less likely to knife-edge holes on debur). 11/7/99
Final size drilled. 11/7/99
Deburring. 11/7/99
More deburring. 11/7/99
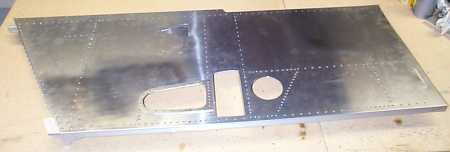
The finished skin. To see what it would look like, I polished the area forward of the wing and the upper aft section of the panel. There is actually more contrast in the polished vs. unpolished areas than shows in the picture. 11/7/99
All of the frames & doublers piled up after deburring. A lot of work for a pretty puny looking pile of parts. Then again, the airframe needs to be light weight. 11/7/99
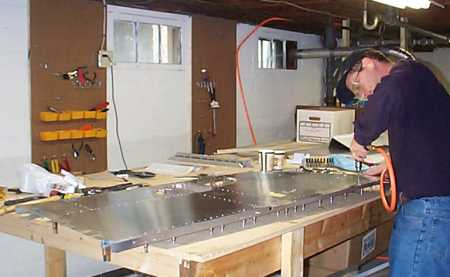
Riveting. Masking tape across center of part marks holes not to be riveted at this time. 11/7/99
Trying on "the wing". 11/7/99
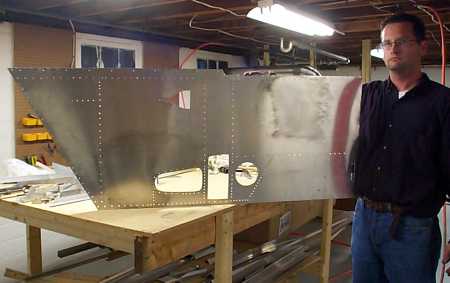
Left side panel completed. 11/7/99
Inside of left side panel. 11/7/99
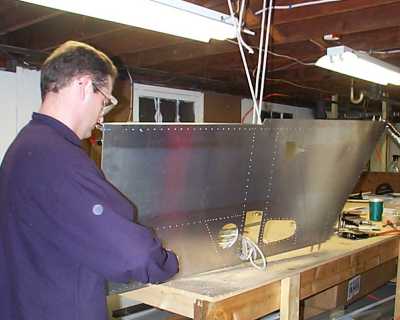
The right side. Using rope from beam above as "extra hand" while installing bolts. 11/9/99