Sonex* Horizontal Tail 2
*This web site is NOT owned or managed by Sonex, Ltd.. Sonex, Ltd. is not responsible for the content unless explicitly stated. See Disclaimer.
Checking the dates on this one, the construction of the complete fuselage intervened between making the horizontal stabilizer and elevators and attaching them together. If you were to proceed this way, the weldment between the elevators need not be made/purchased until several months' more work is done turning raw aluminum into fuselage or wing parts.
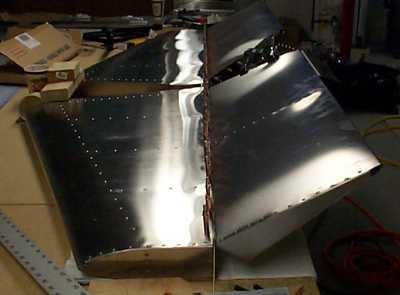
Elevators clecoed to horizontal stabilizer. 1/21/00.
Hinge drilled. 1/21/00.

Detail of weldment. Note countersunk rivets around nutplate location. A loop clamp for the trim cable goes here. Green is zinc chromate primer - this part is mostly hidden by the rudder, but I could remove excess primer later. 1/21/00.
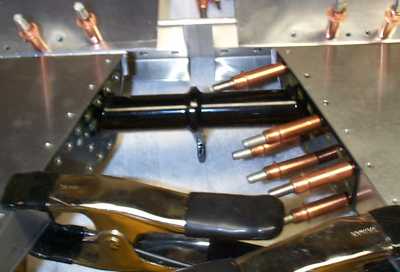
I riveted the weldment to the left drive rib, but left the right drive rib clecoed only for fitting between the elevators. I probably could have riveted both drive ribs before fitting the elevators. 1/21/00.
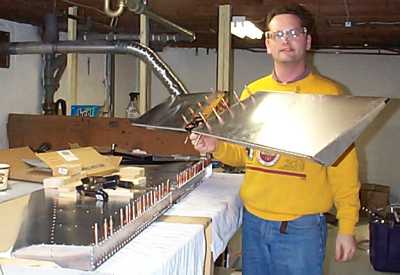
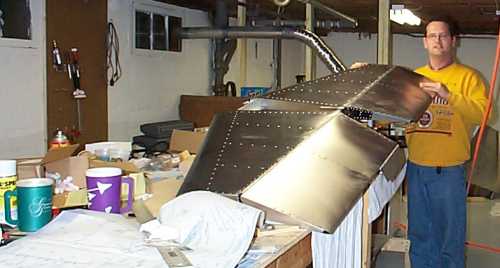
After fitting the elevators (hinges clecoed to h-stab) and drilling the drive ribs, the complete elevator is easily lifted by the drive weldment. You might not want to try this at home. 1/21/00.
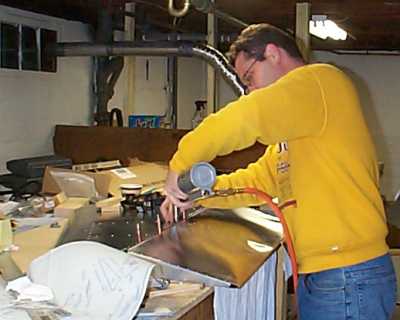
Riveting hinge. I installed the hinge pins before clecoeing the hinge to the h-stab. When I lined up the elevators for drilling the drive ribs, I had installed the hinge pins with the hinges clecoed to the h-stab. This was not easy due to slight misalignment along the hinge. So it was a lot easier for final assembly to install the hinge pin before riveting the hinge to the h-stab. The elevators move quite freely. 1/21/00.
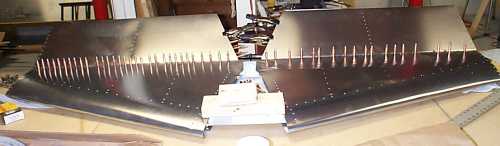
Completed h-stab & elevator assembly. 1/21/00.
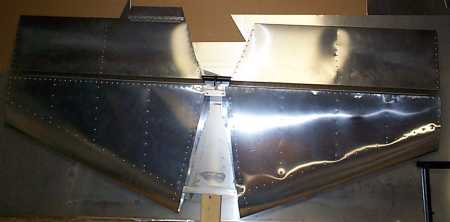
Another view of completed assembly. Beefy, wide-chord look. 1/21/00.