Sonex* Wing 4
*This web site is NOT owned or managed by Sonex, Ltd.. Sonex, Ltd. is not responsible for the content unless explicitly stated. See Disclaimer.
This is the right wing.
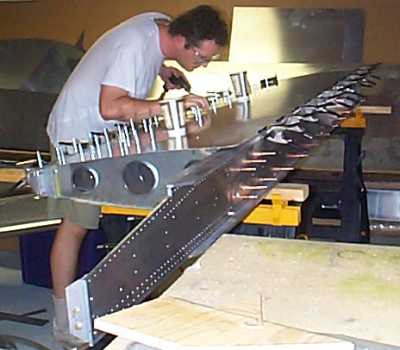
This is the setup for drilling the wing - 2 sawhorses, parallel to each other (level). Starting with the wing inverted, with the forward and aft spars touching the sawhorses. Lay on the lower skin, and drill it aft edge to forward edge. Since this is the first skin on the wing, ribs can be centered on the pre-drilled skin pilot holes by pushing them around from below. Draw centerlines on ribs first, and prepare the ribs to be as flat as possible so only minimal adjustments are required to center on the pilot holes. 8/2/00
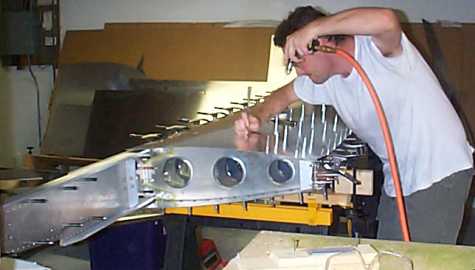
For the upper skin, flip wing over, and block trailing edge to same height. At this point, some (slight) twist adjustment can be made to the structure, but once the top skin is drilled a few rows from the aft edge, any twist is locked in. This kind of strange shot is to show using a pointed-end file to make the rib adjustments. I tried a length of wood with a "hook" end inserted through the lightening holes, and this was ok for basic adjustments, but with no one to hold the adjuster in place, final adjustment was held with the file while the next hole was drilled. 8/3/00
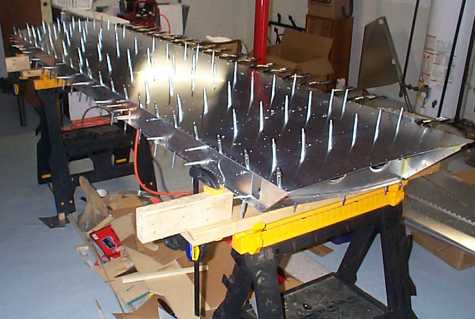
Top of right wing pilot drilled. Note leading edge ribs not installed, and front row (to spar) not yet drilled. 8/6/00
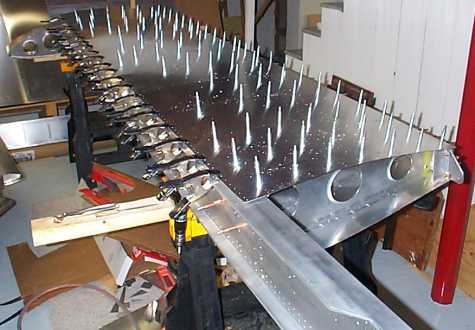
View from the front. Impressive how rigid this is. Forward "D" cell is from Sonex workshop (forward rib placed near wing tip). 8/6/00