1951 Buick Roadmaster 76R - 01
Mid June 2014 - Found yet another car!

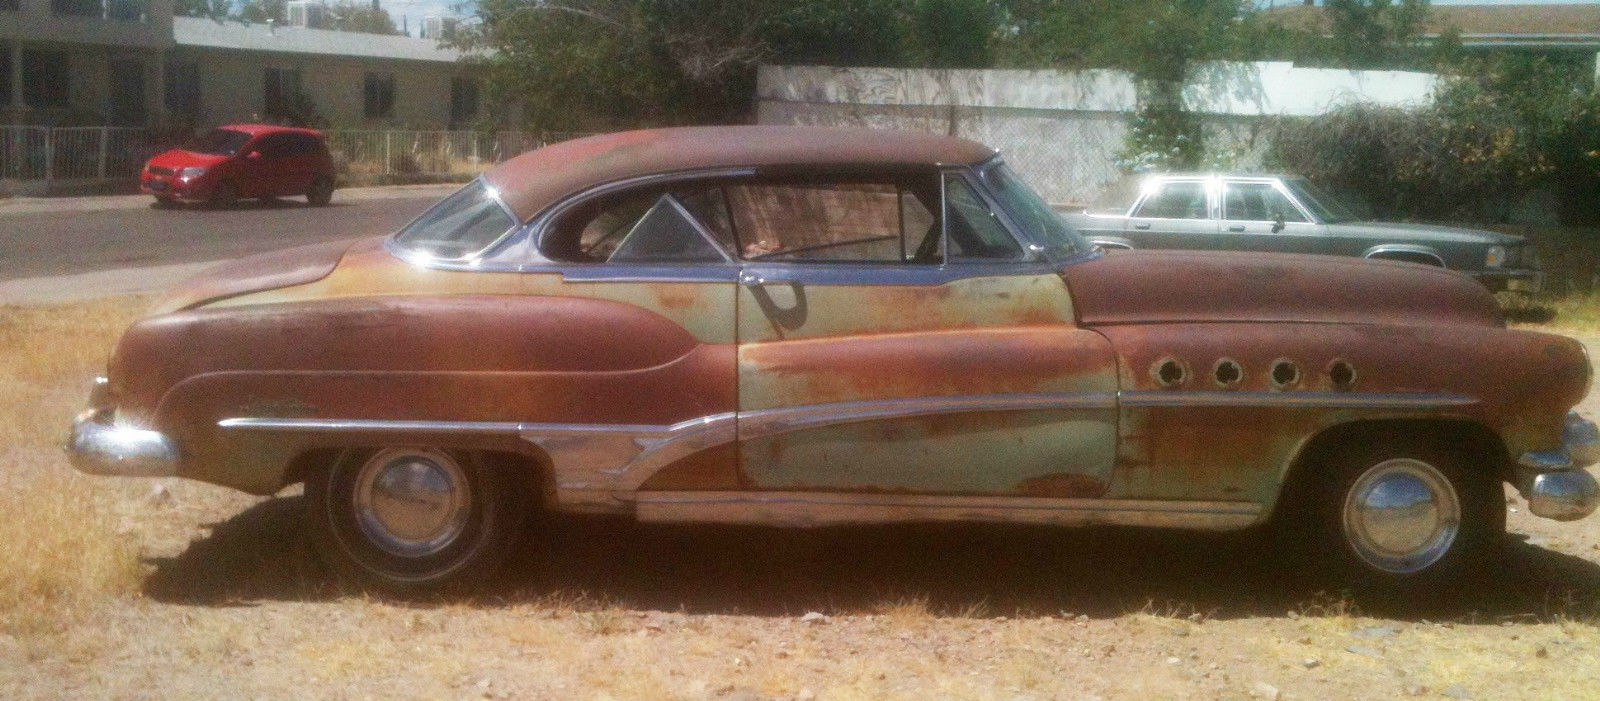
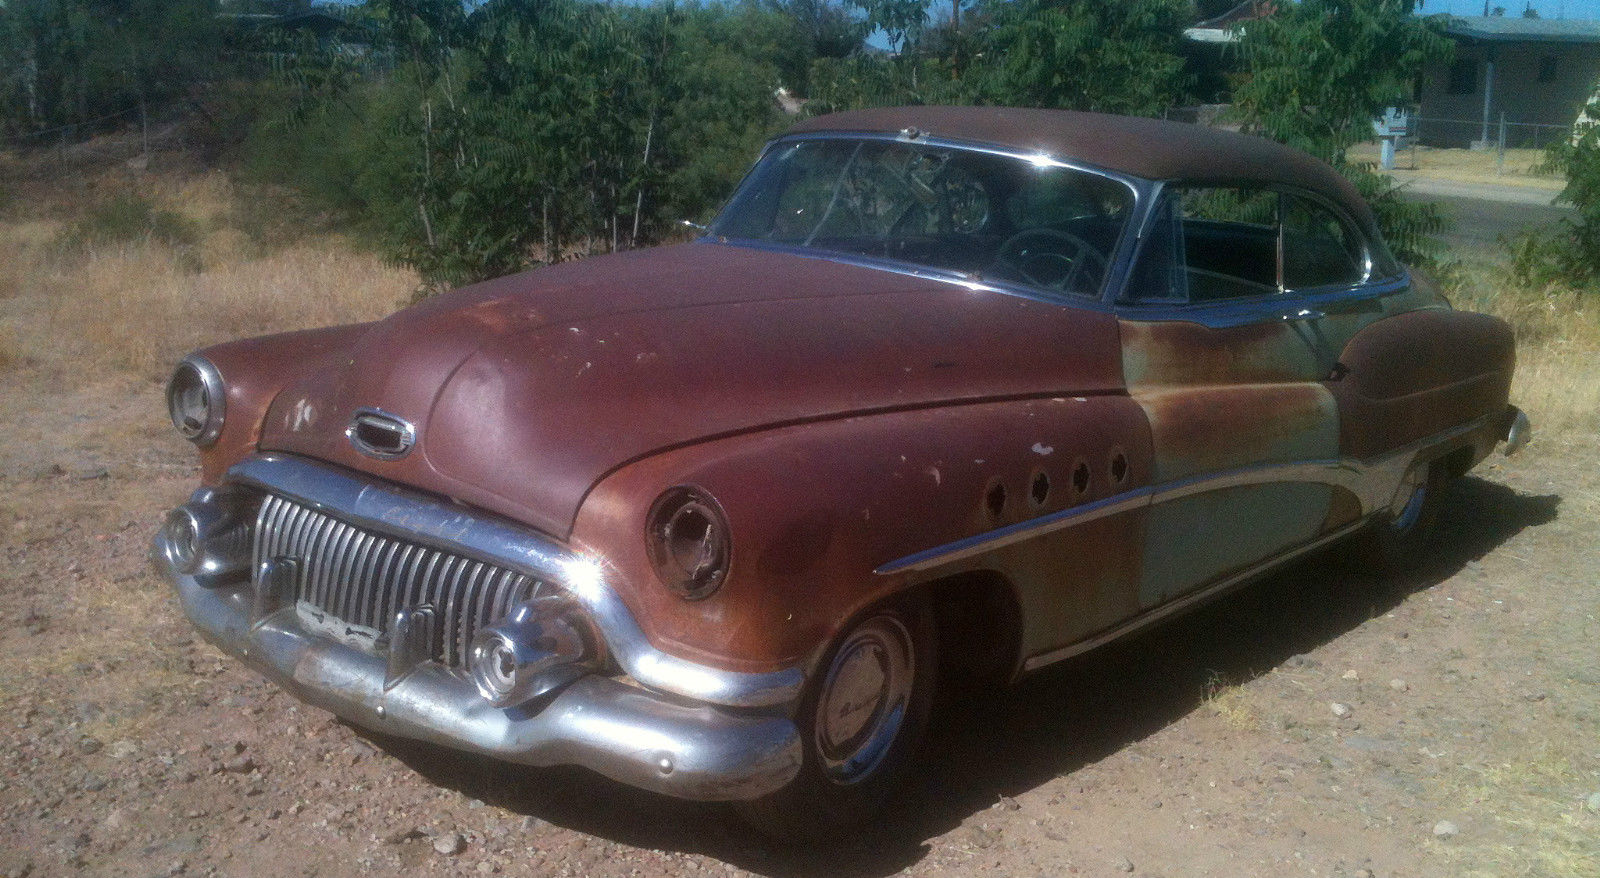
On a weekend away from home, cruising eBay, saw this '51 76R - Roadmaster 2-door hardtop. This one is the top of the line, right up there with the convertible. For better or worse, this one is much more worthy of restoration than the 41D.
I put in a bid, but lost. I sent the seller a message anyway, because the location was relatively nearby. We ended up talking on the phone about it, and it sounded like maybe the winning bidder wasn't going to go through with the deal anyway, since it would involve shipping from Arizona to Ohio or something.
So I gave my best price, and he was ok with that. He got another $100 for delivery, which really wasn't much out of the way for him, since he needed to bring it to Tucson anyway to have a title re-issued.
So I'm writing this page a bit more than a year after-the-fact, and what I've found is that there was more damaged/missing than I imagined from the photos. Not that the photos outright hid anything, but maybe I didn't know what to look for.
Thanks to the wonder of the internet, I can search today, and still find the original text of the advertisement included here:
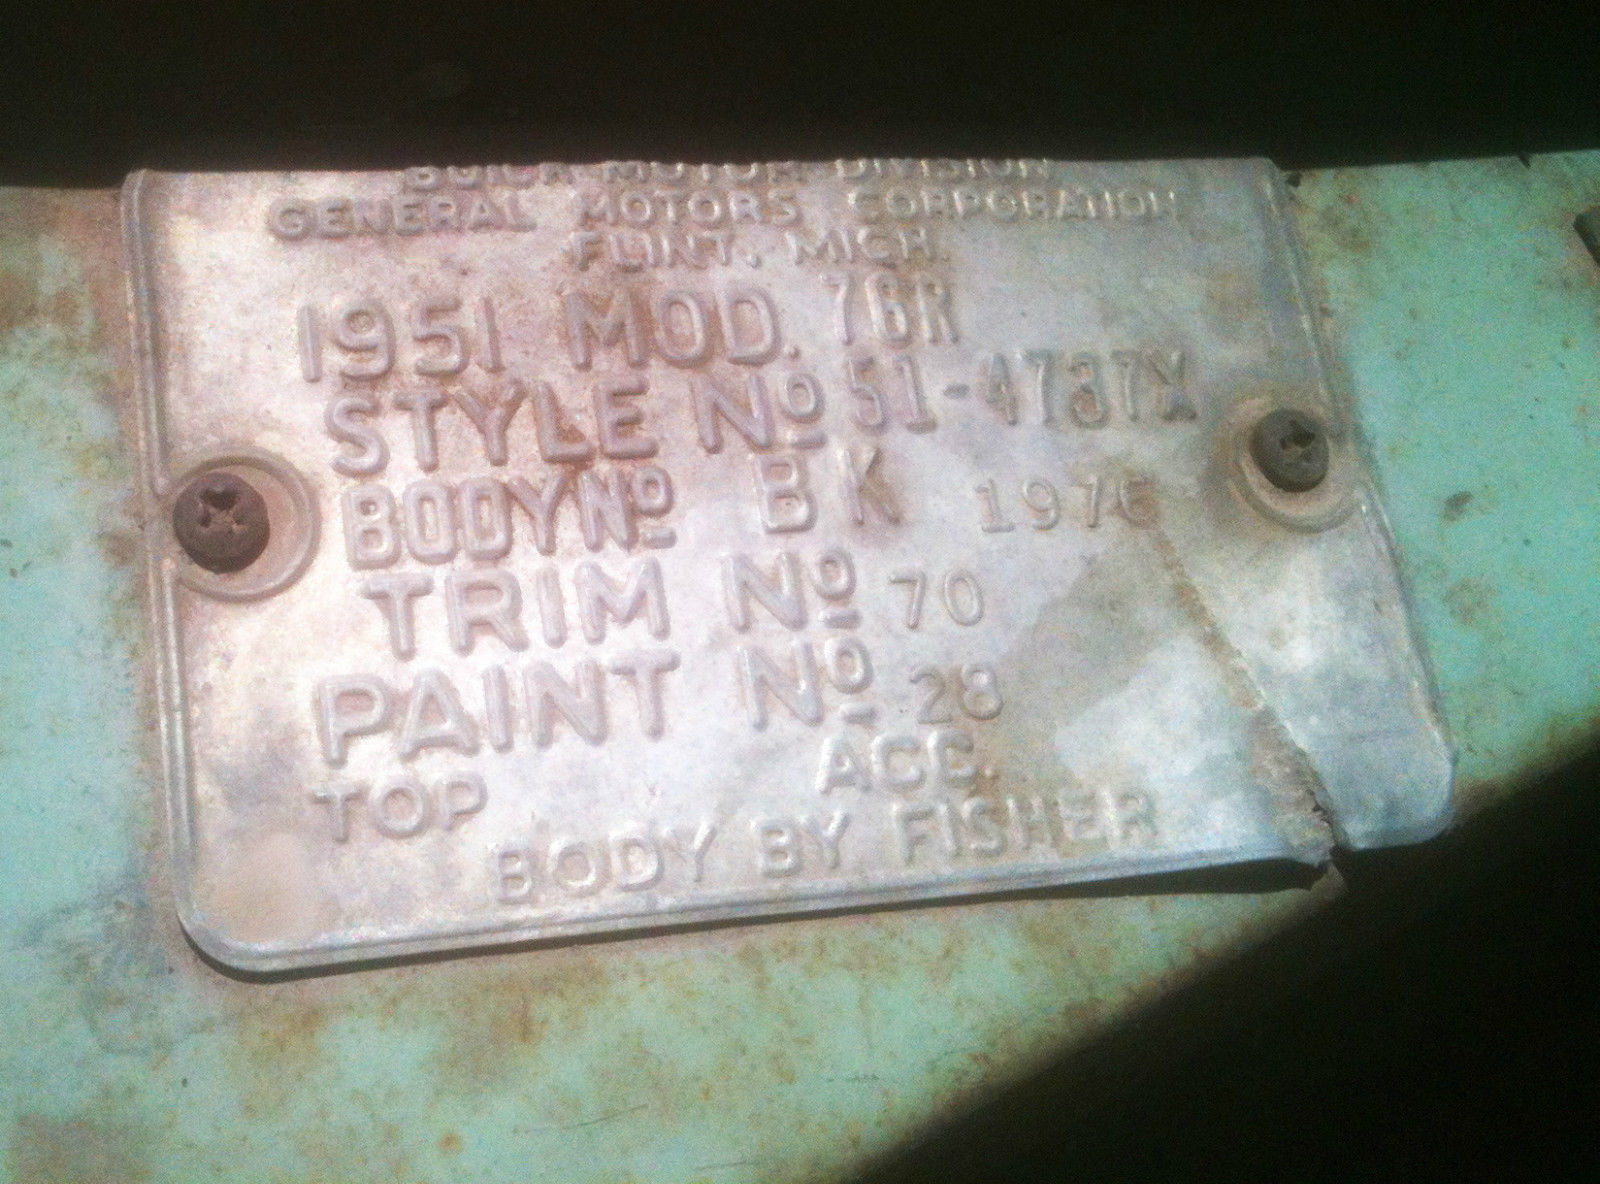
I offer a 1951 Buick Roadmaster Riviera two door hardtop, model 76R, serial number 46410375.
It is Style No. 51 4737X, Body Number BK 1976, Trim No. 70, Paint No. 28. The "X" after the Style number identifies it as having power window (hydraulic) lifts. The trim number 70 is grey cloth and the paint number 28, is a two tone combination of Calumet Green and Glenn Green.
A completely original Buick Roadmaster
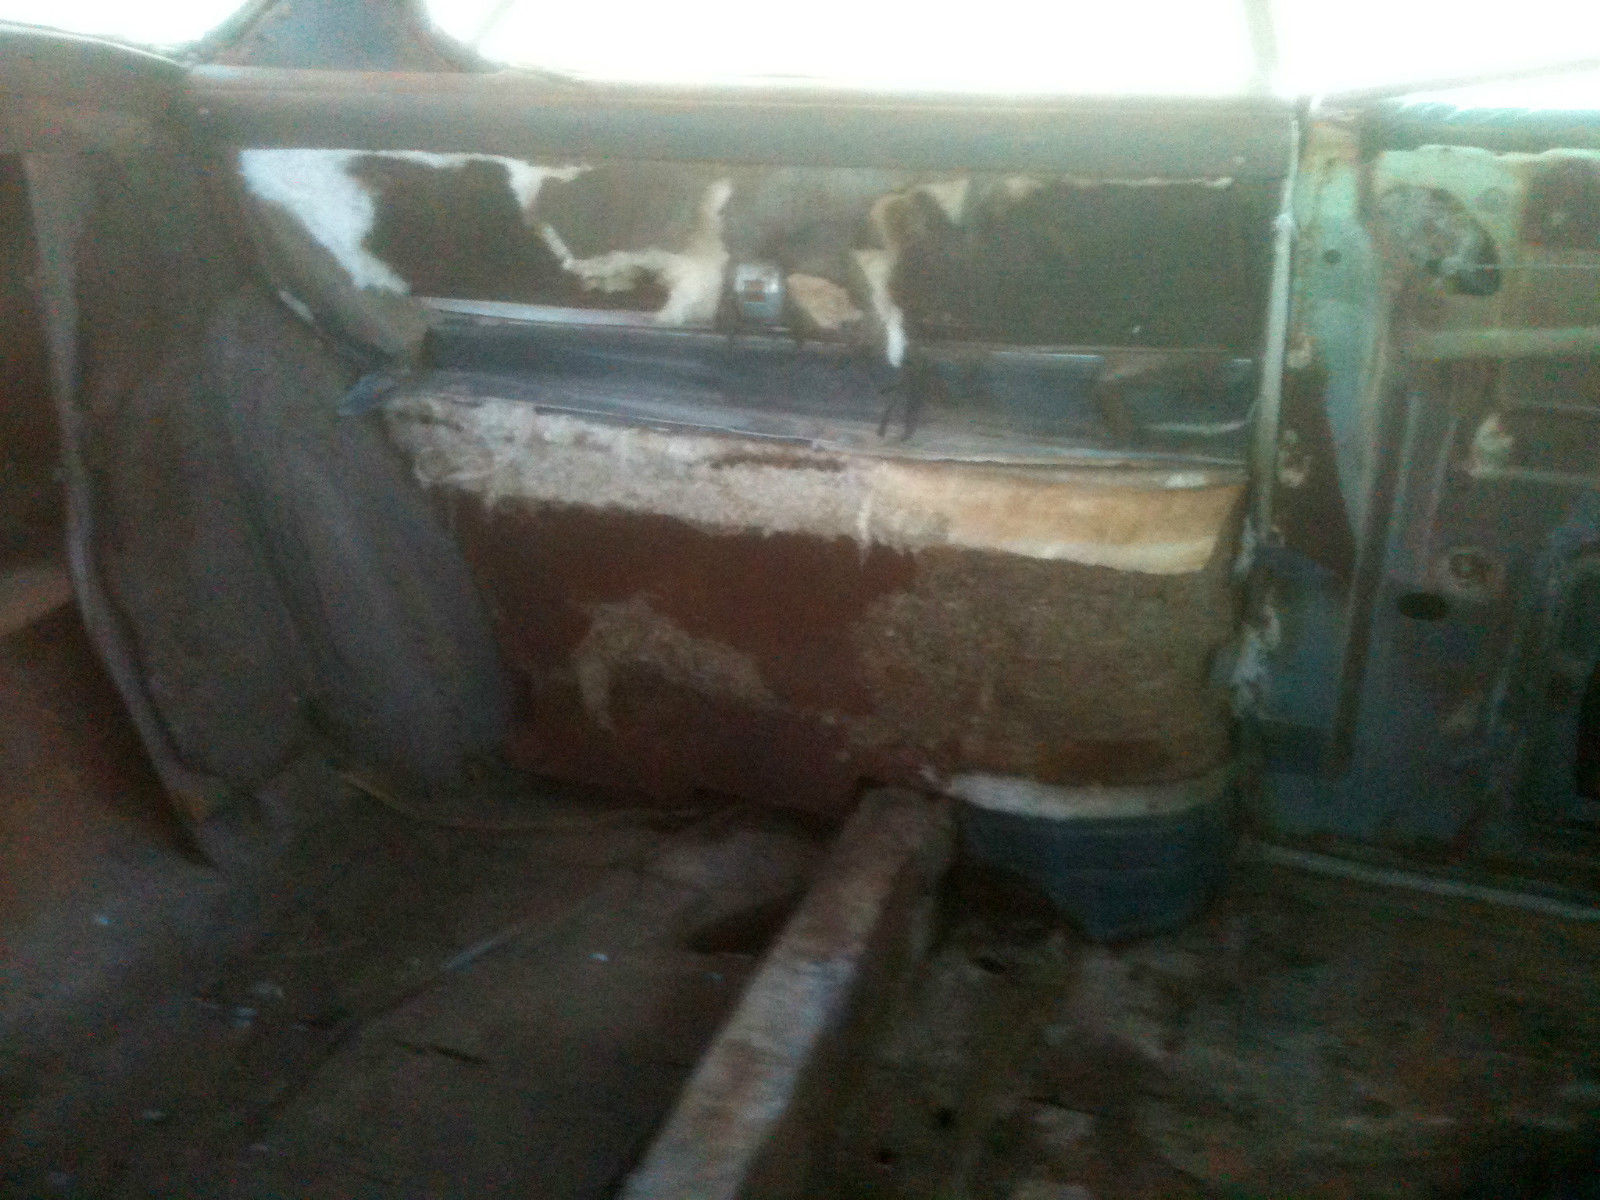
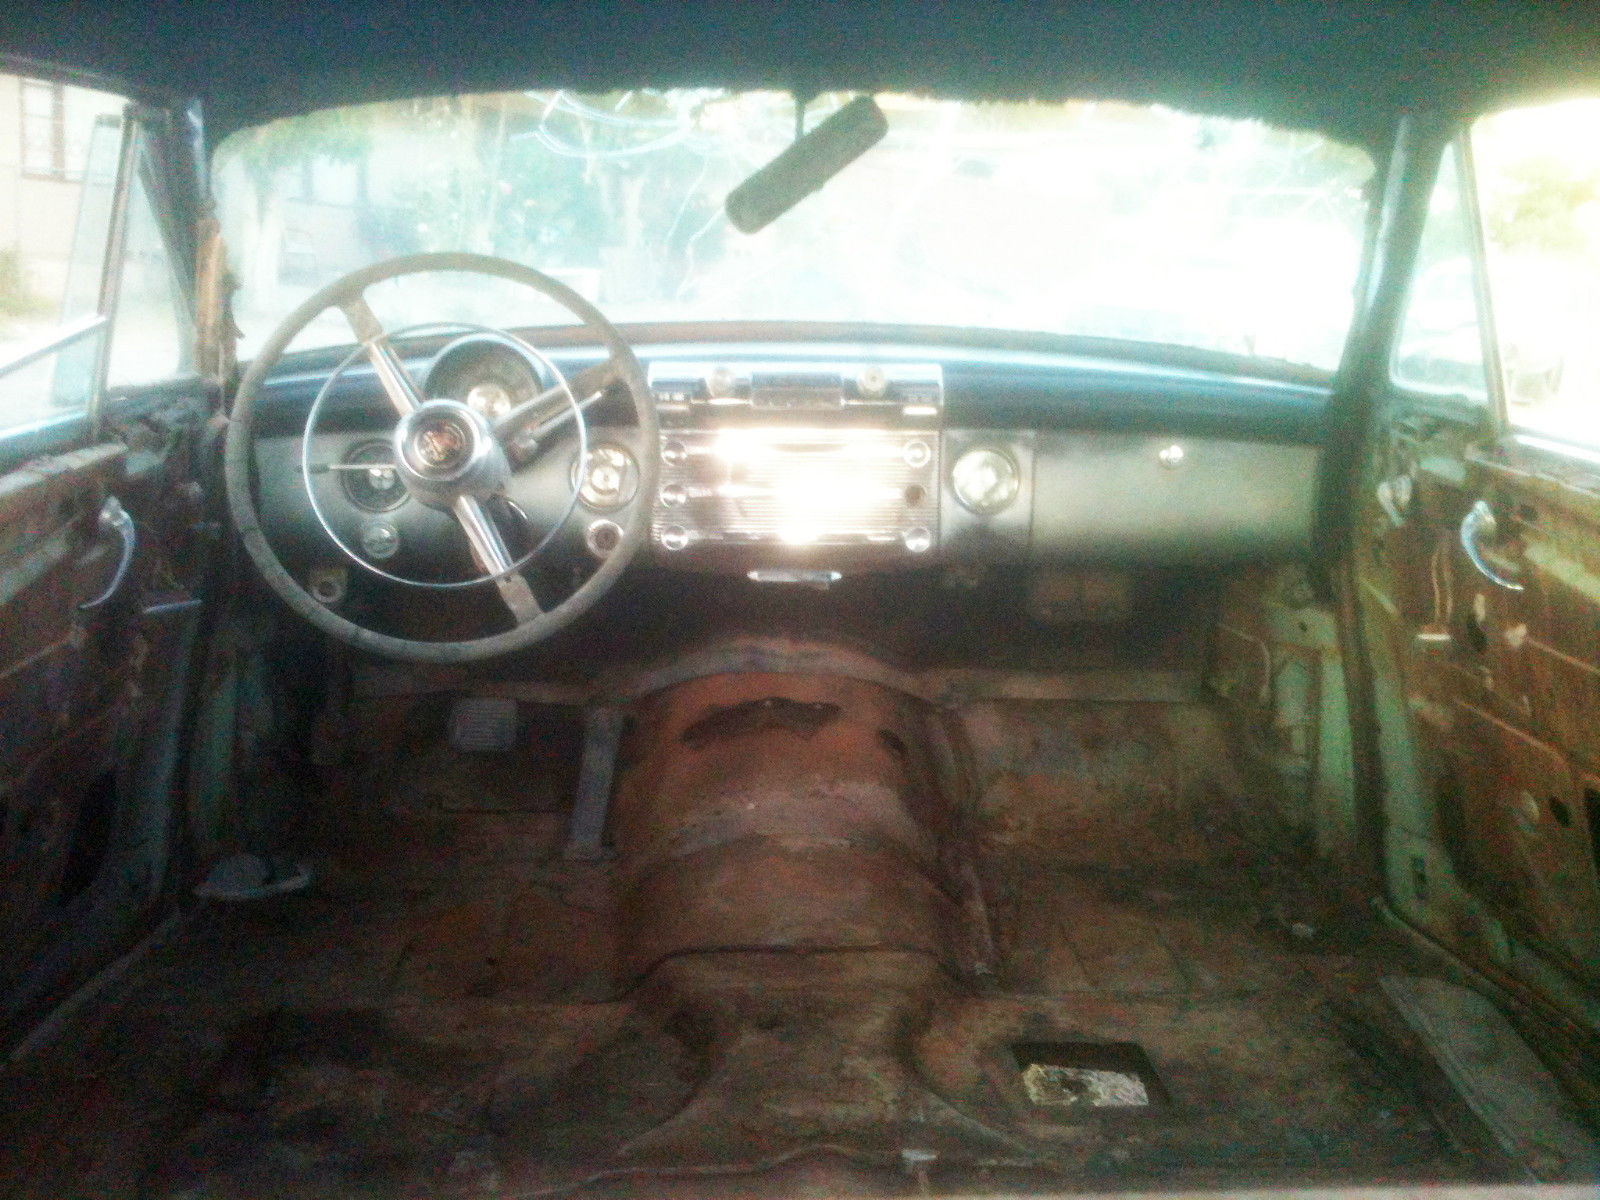
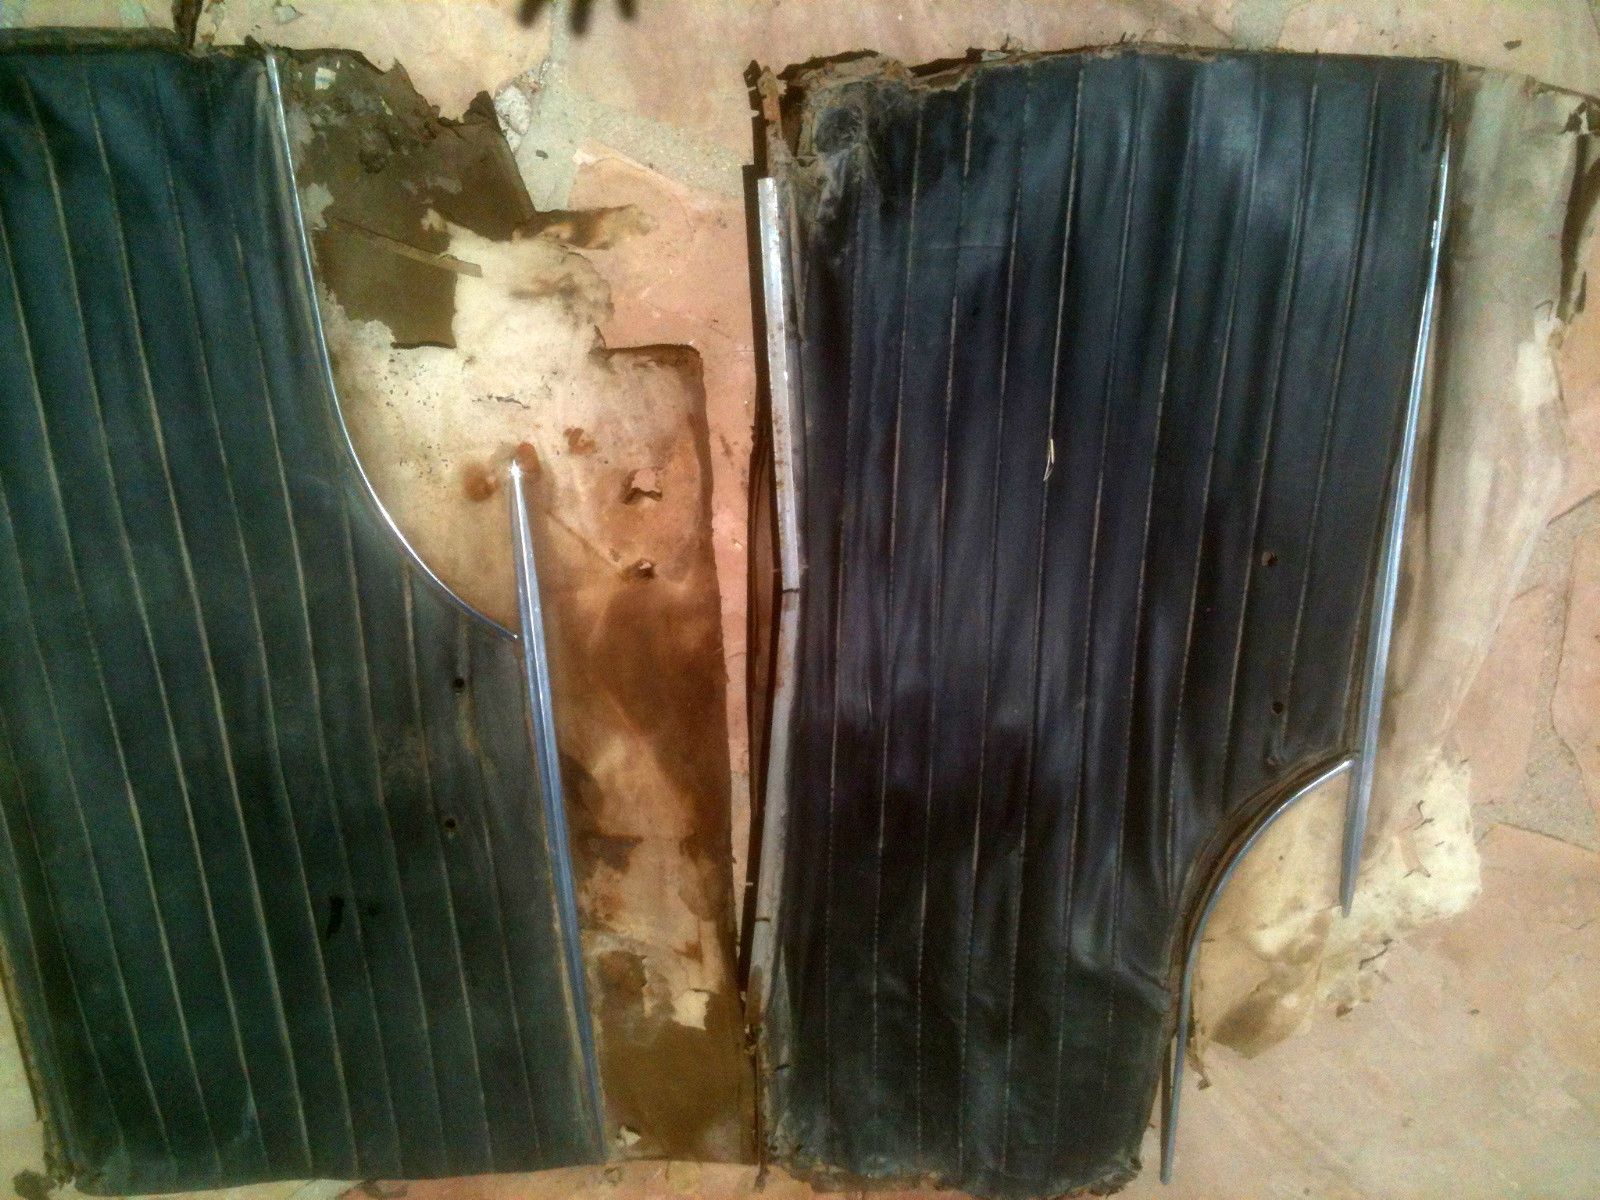
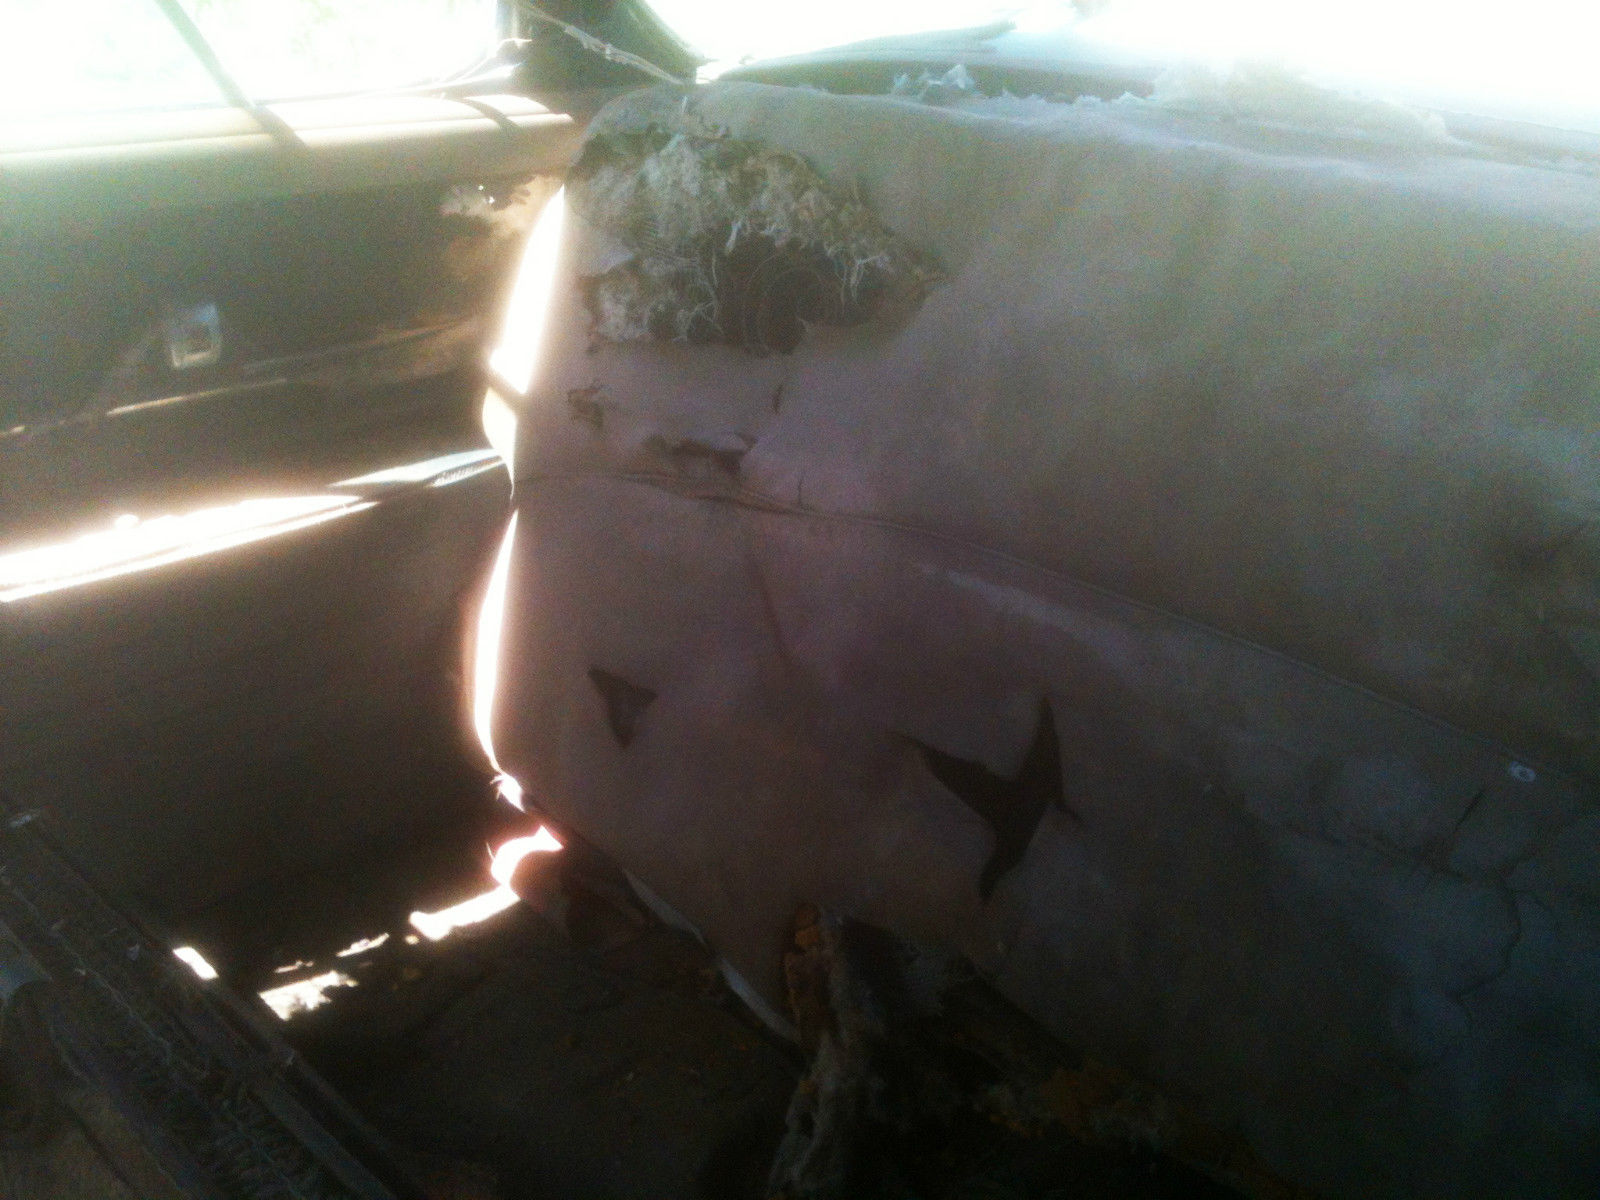
This extraordinarily rare Buick Roadmaster hardtop is completely original and unmolested in that no one has changed anything from the original, but in need of cosmetic restoration. The paint, what is left of it, is original. The car has never been reupholstered and portions of the original interior are present in sufficient quantity to duplicate the original interior. The back seat backrest still retains some of the original grey cloth and a pattern seam which forms the pattern of the seat, which was a simple pattern (as I recall the 1951 Buick parts manual for soft trim shows the seats and pattern). The rear armrests are present. The door panels are present and have the original stainless trim.
Originally from Tucson, Arizona
I bought the Buick in 1985 in Tucson, Arizona and understand that this Buick lived all its life in Tucson. It clearly has the look of an Arizona car, with which I am very familiar. There is no damage to the exterior save for minor dings from having been moved from one storage to another. The body is rust free and the frame is rust free making it a very solid and original car and easily restored.
A drivable car with light mechanical work
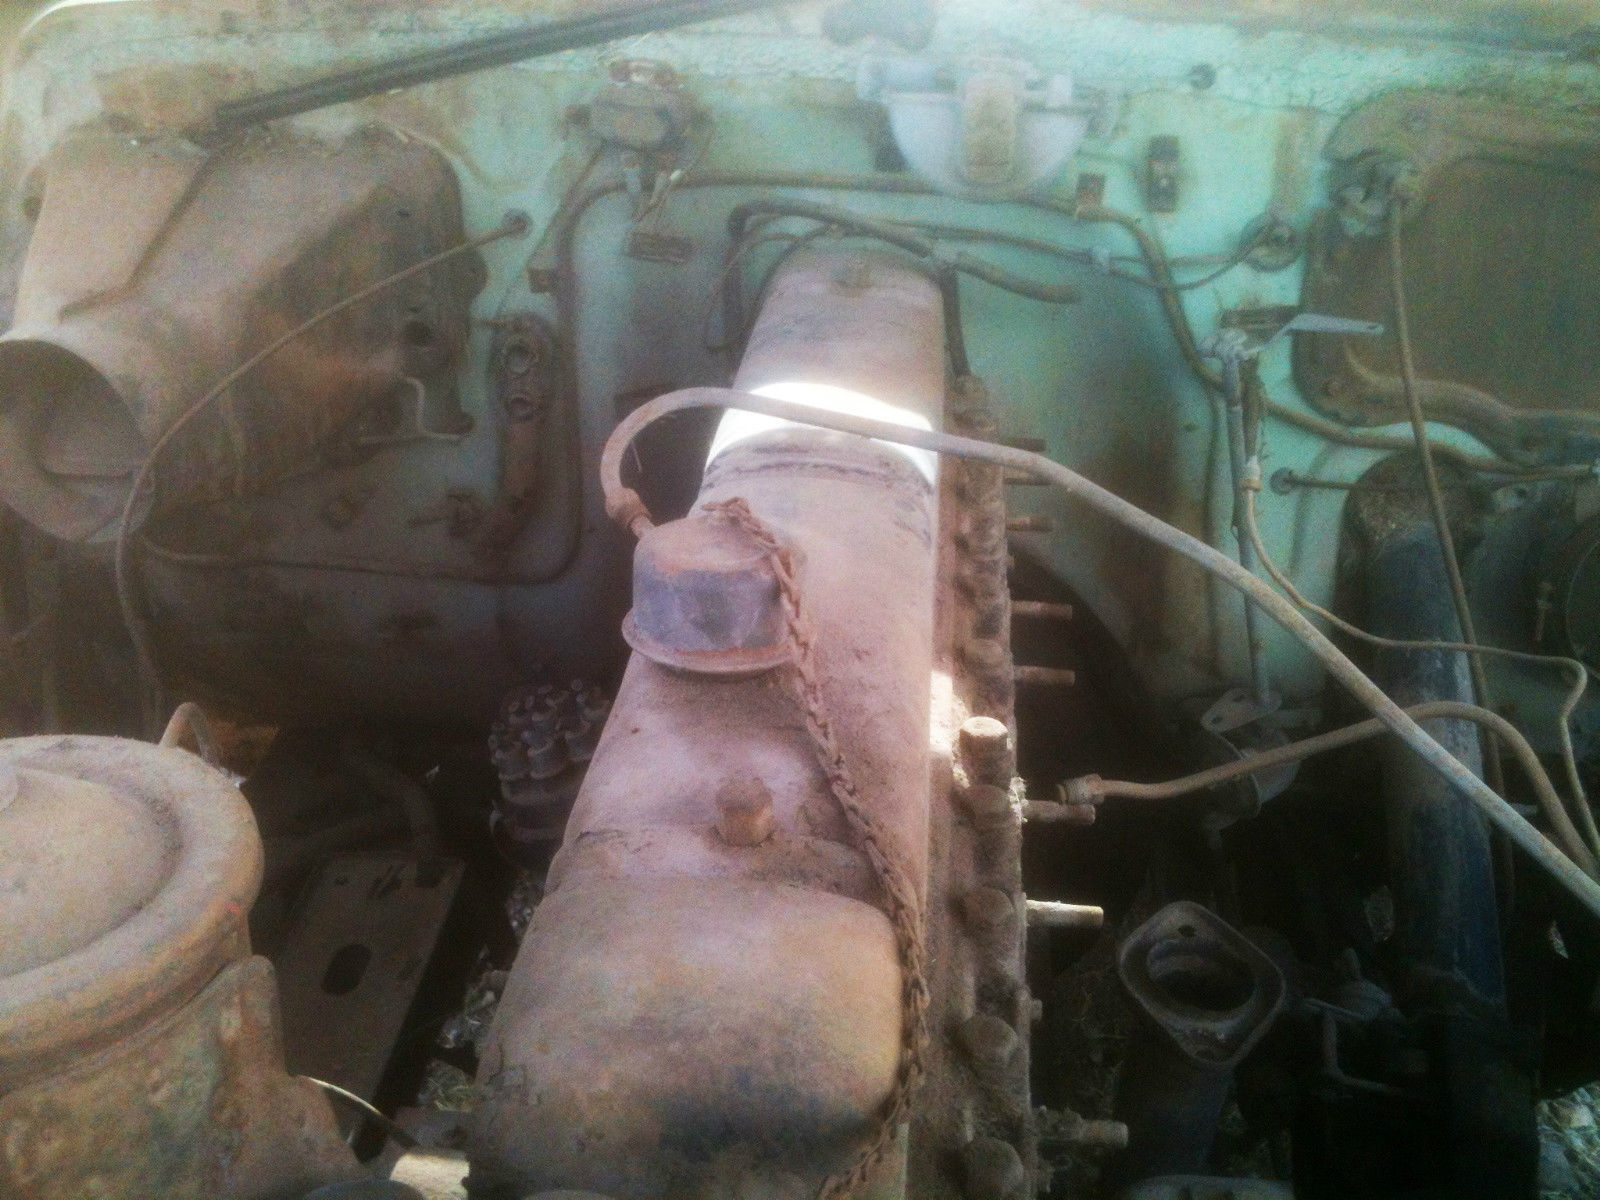
I drove this car in the 1980s and it ran beautifully. I had it in storage where the radiator was stolen. I removed the exhaust manifold and carburetor and believe I have it, but can't guarantee that I do. I do have the air cleaner.
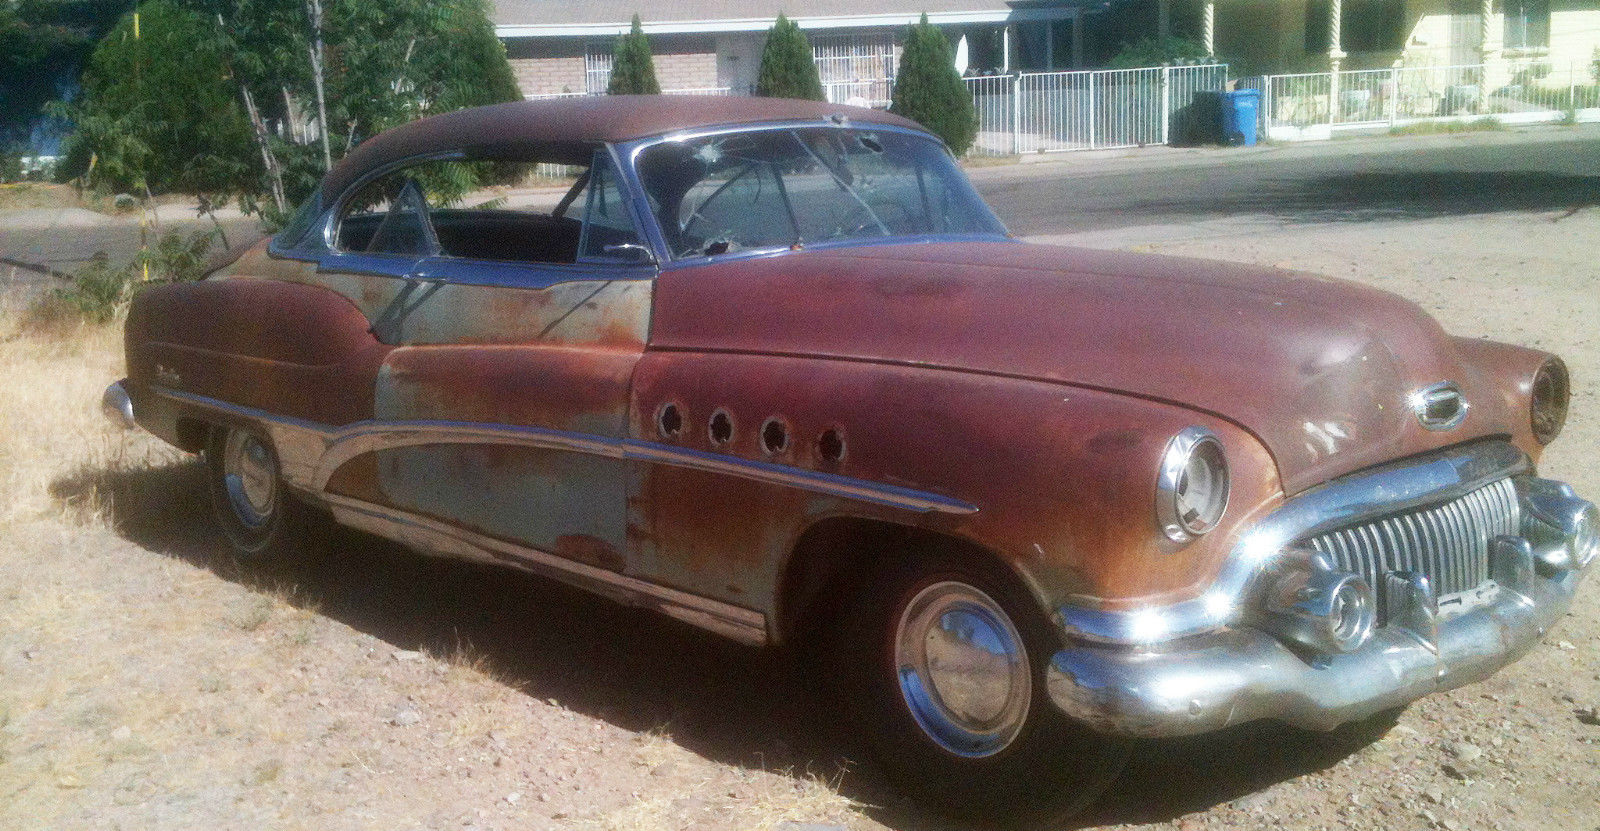
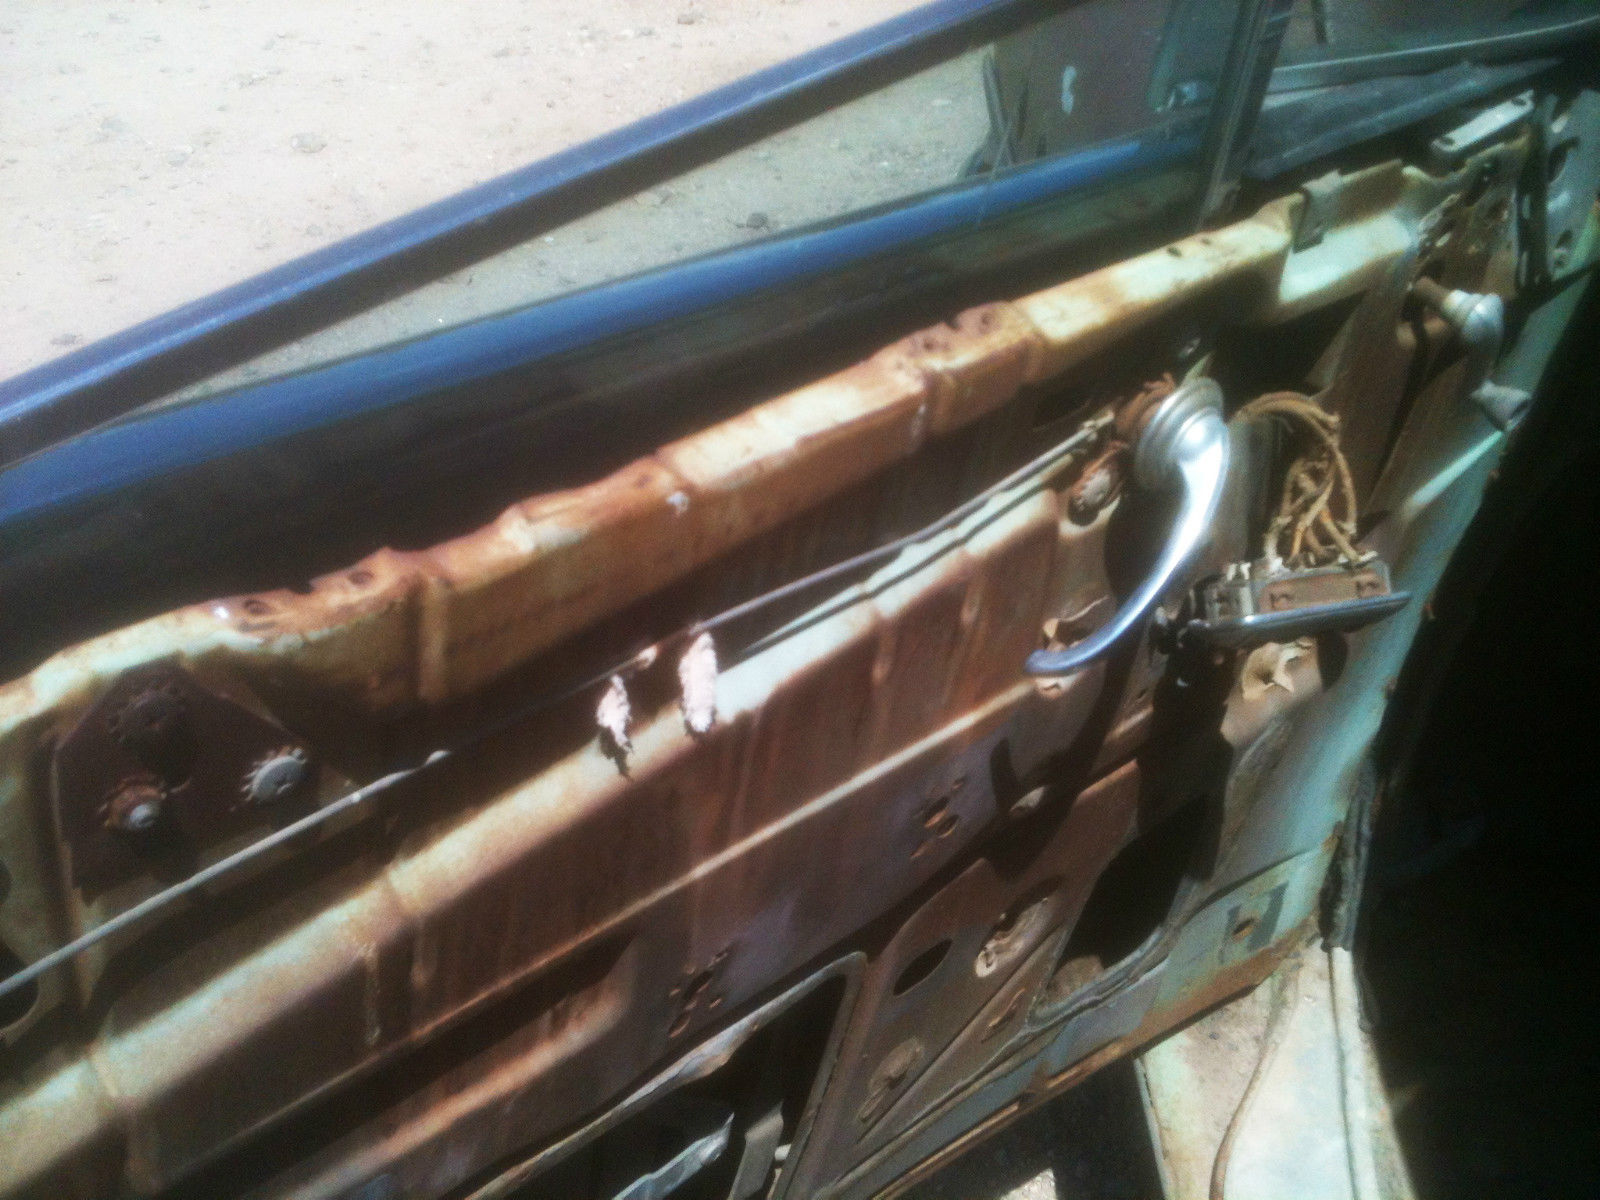
The car is almost entirely complete. Prior to my purchase, some minor disassembly began. The bottom rear seat cushion is missing as are the two garnish moldings for the doors. As you'll note in the photos, the portholes and the hood ornament were also removed.
A light restoration
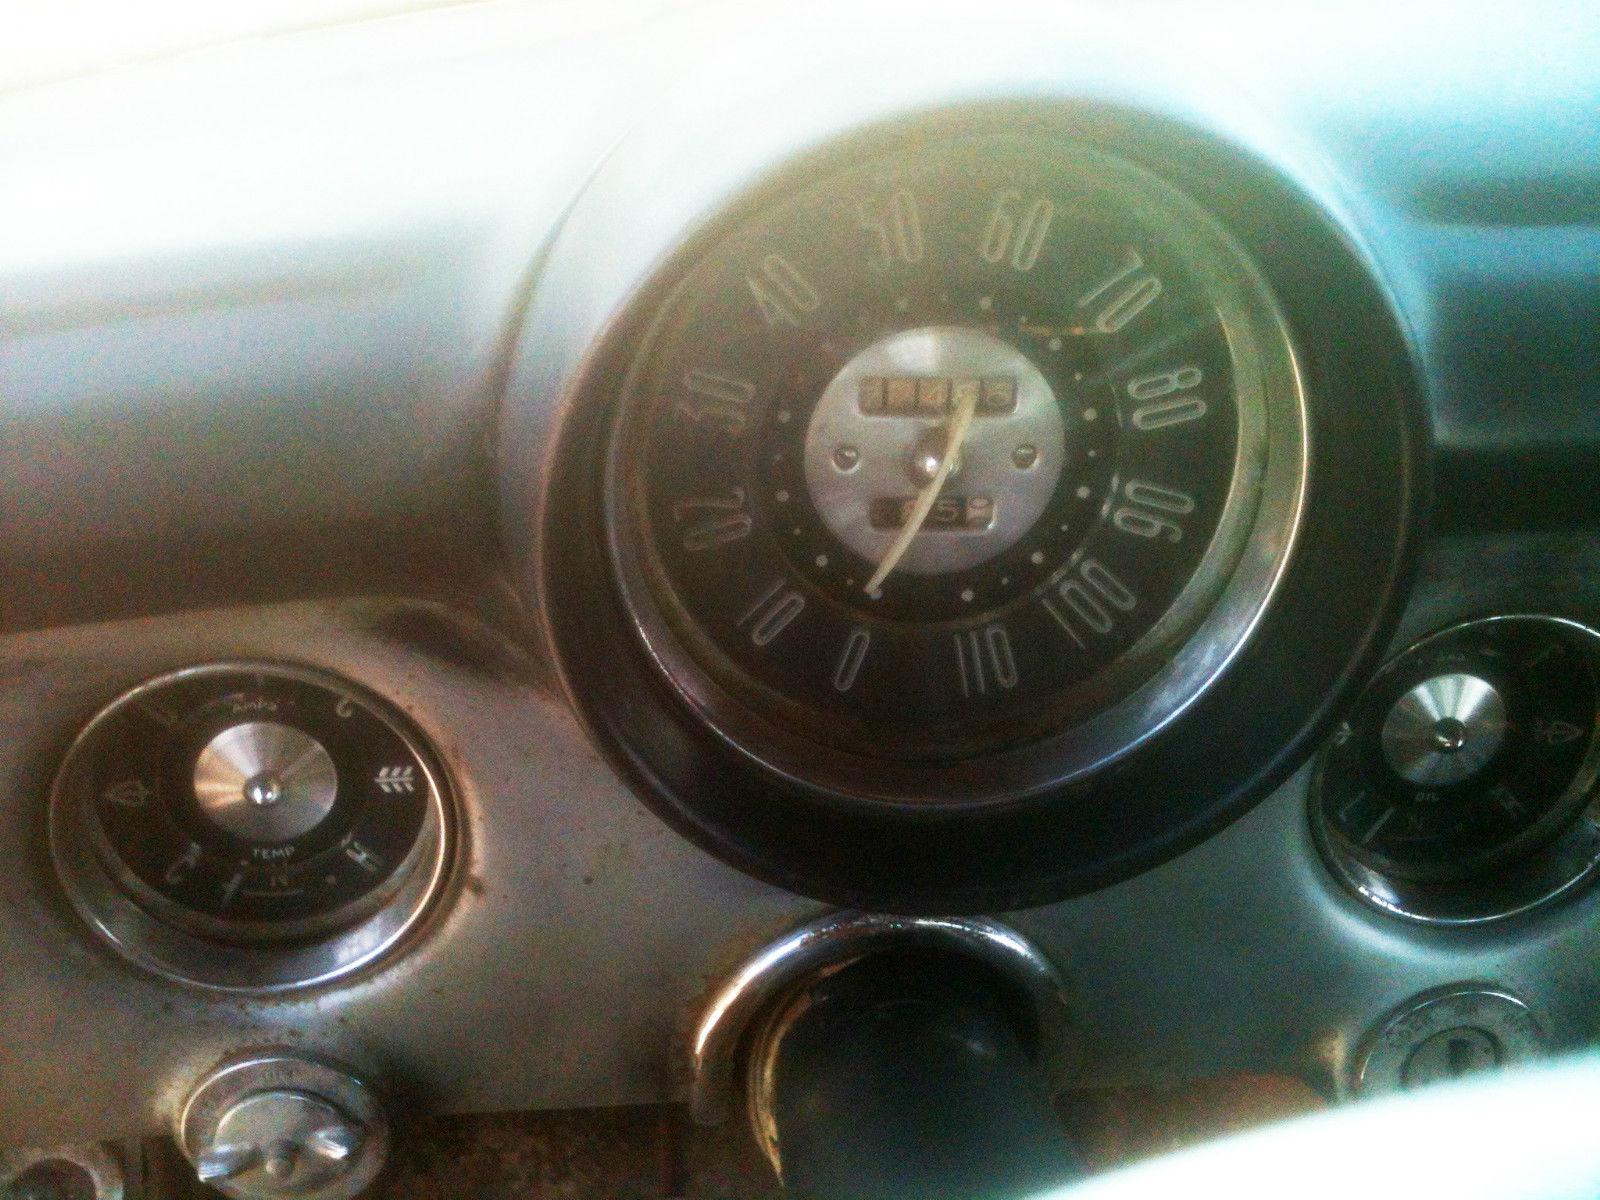
I've restored well in excess of 50 automobiles and this one is quite easy to restore. Based on my driving this car and the mileage which I believe to be correct, the mechanical work will be light, consisting of renewing those things that normally wear with use. Fundamentally, this Buick should be mechanically sound.
I planned to paint the body in the original greens. I provided a photo at the end of an identical Buick Roadmaster 76R in the same colors. A body man would find this an easy car to do. And there is no structural repair or replacement required anywhere in the floor, frame or body - just paint!
The interior is a simple one of vinyl and grey broadcloth as per original. There were several leather options available in standard colors. But this Buick is so original, it's worth doing back to the original colors and materials, which would require the least effort.
The bumpers require plating of course, and the stainless some minor repairs, but as you'll note in the photos, the stainless is in very good condition and all the exterior stainless is complete.
Selling with regret
I have too many vehicles. So I've prioritized and there are 12 others at least which I prefer. I probably will never get to the Buick, so with regret, I'm going to sell. I should probably sell two more and that will be painful!!
Payment and shipping
Payment must occur within 48 hours of close of auction by bank wire transfer. Contact the vendor for wire transfer instructions. Upon receipt, I will send the signed, notarized title in 24 hours by overnight mail. In case of an overseas transaction, the wire transfer requirement remains the same. I urge an overseas buyer to check the regulations of your country. In some cases, the original title must accompany the vehicle and further recommend you contact a customs broker.


But then there were things that I wouldn't think would be wrong but were. Such as 3 of the 4 wheel rims being the wrong size (and of course, no spare either). So I had to come up with 4 vintage Buick rims. (I bought the last 4 in that width that DVAP at Casa Grande had - though they may have picked up another car or two by now.)
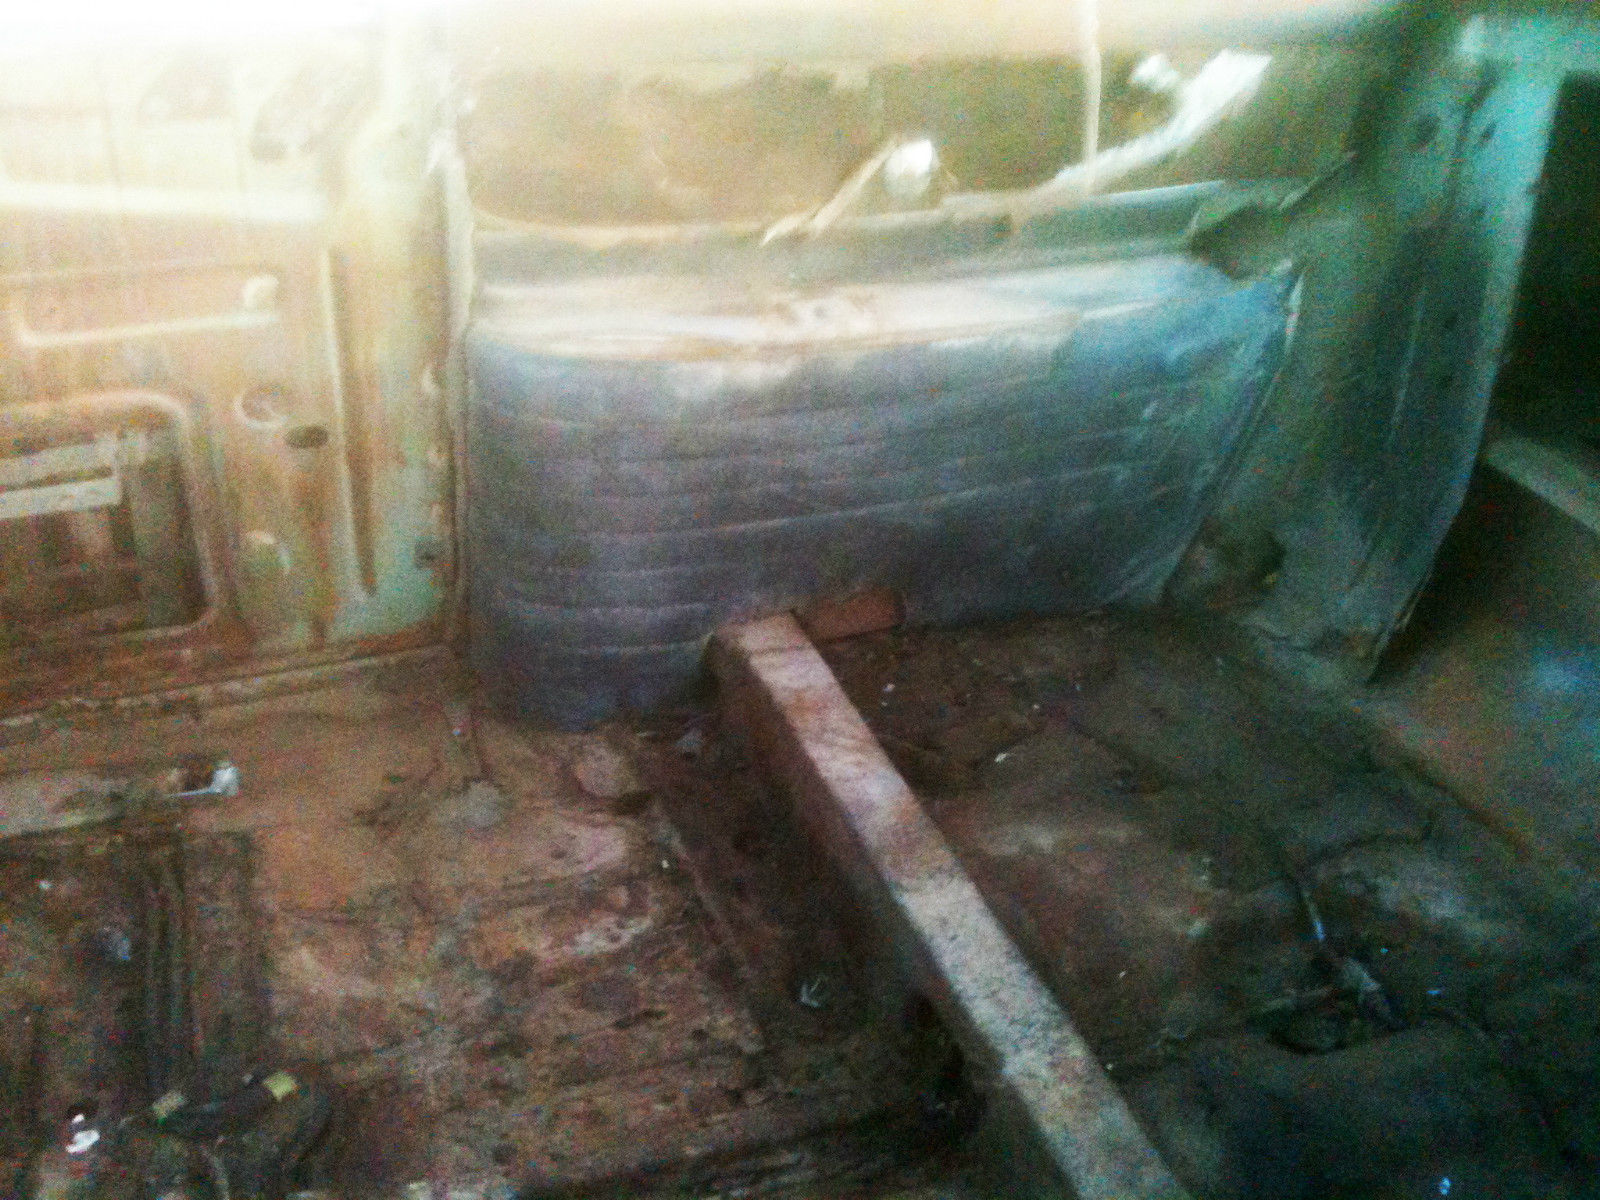
Some pretty major missing items included the intake/exhaust manifolds, carburetor, radiator, the front seat, and the rear seat bottom. The seller provided A front seat, but I believe it's slightly older vintage, missing some parts, and doesn't fit the floor attach points.
Another major missing item was ALL of the wiring in the engine compartment - well, firewall forward. Copper thieves. At least they didn't realize there's some pretty good chunks of copper in the starter and generator (or they didn't have the tools for these). So I got to not only get familiar with the wiring diagram, but also find a supplier of vintage wiring terminals and buy some specialized terminal crimping tools. Rebuilding the wire with original vintage-style parts was in large part due to recommendations from the AACA Buick forum members. I believe they were right - modern auto-parts-store wiring would just look bad in this environment. And I got to learn how to repair this wiring.
After I got the engine start/ignition/charge wiring done, then it was onto the rest of the firewall-forward wiring. Horns, headlights, marker/turn signals, defroster fan. I got all that done. Horns not working due to either bad relay or problem in the steering column (I haven't tracked that down yet).
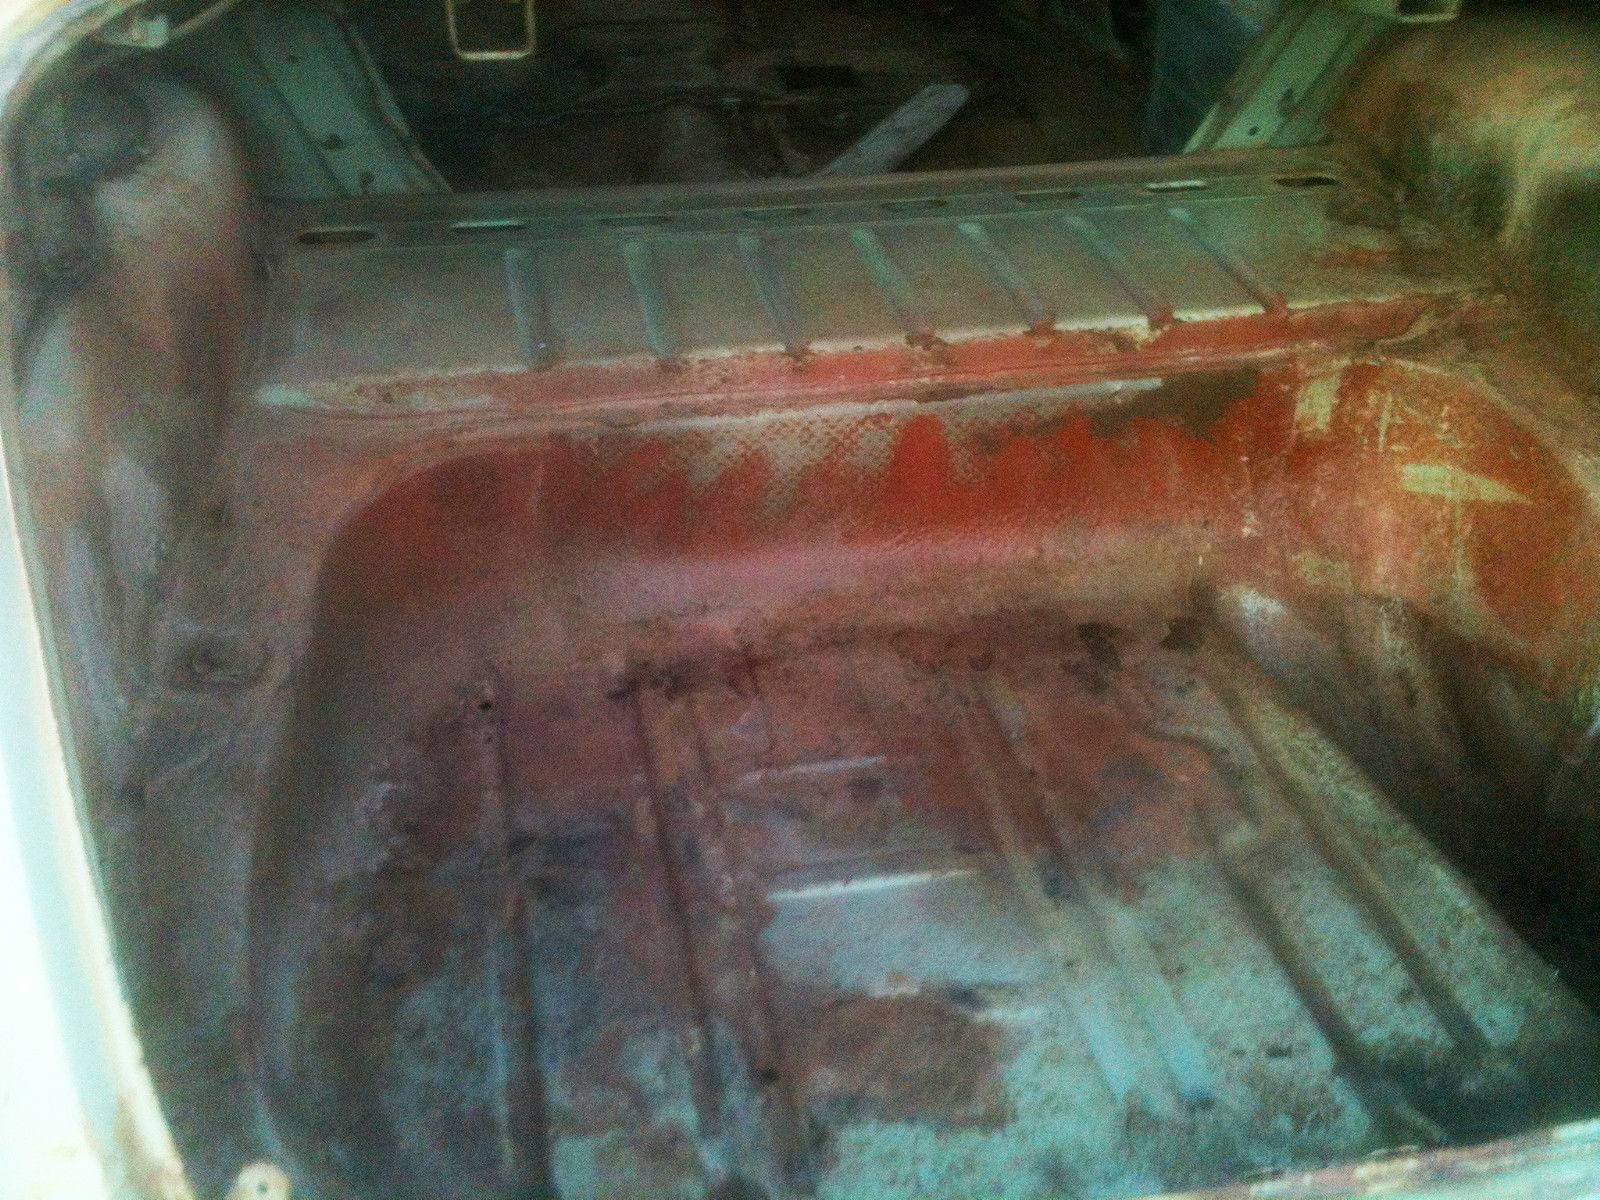
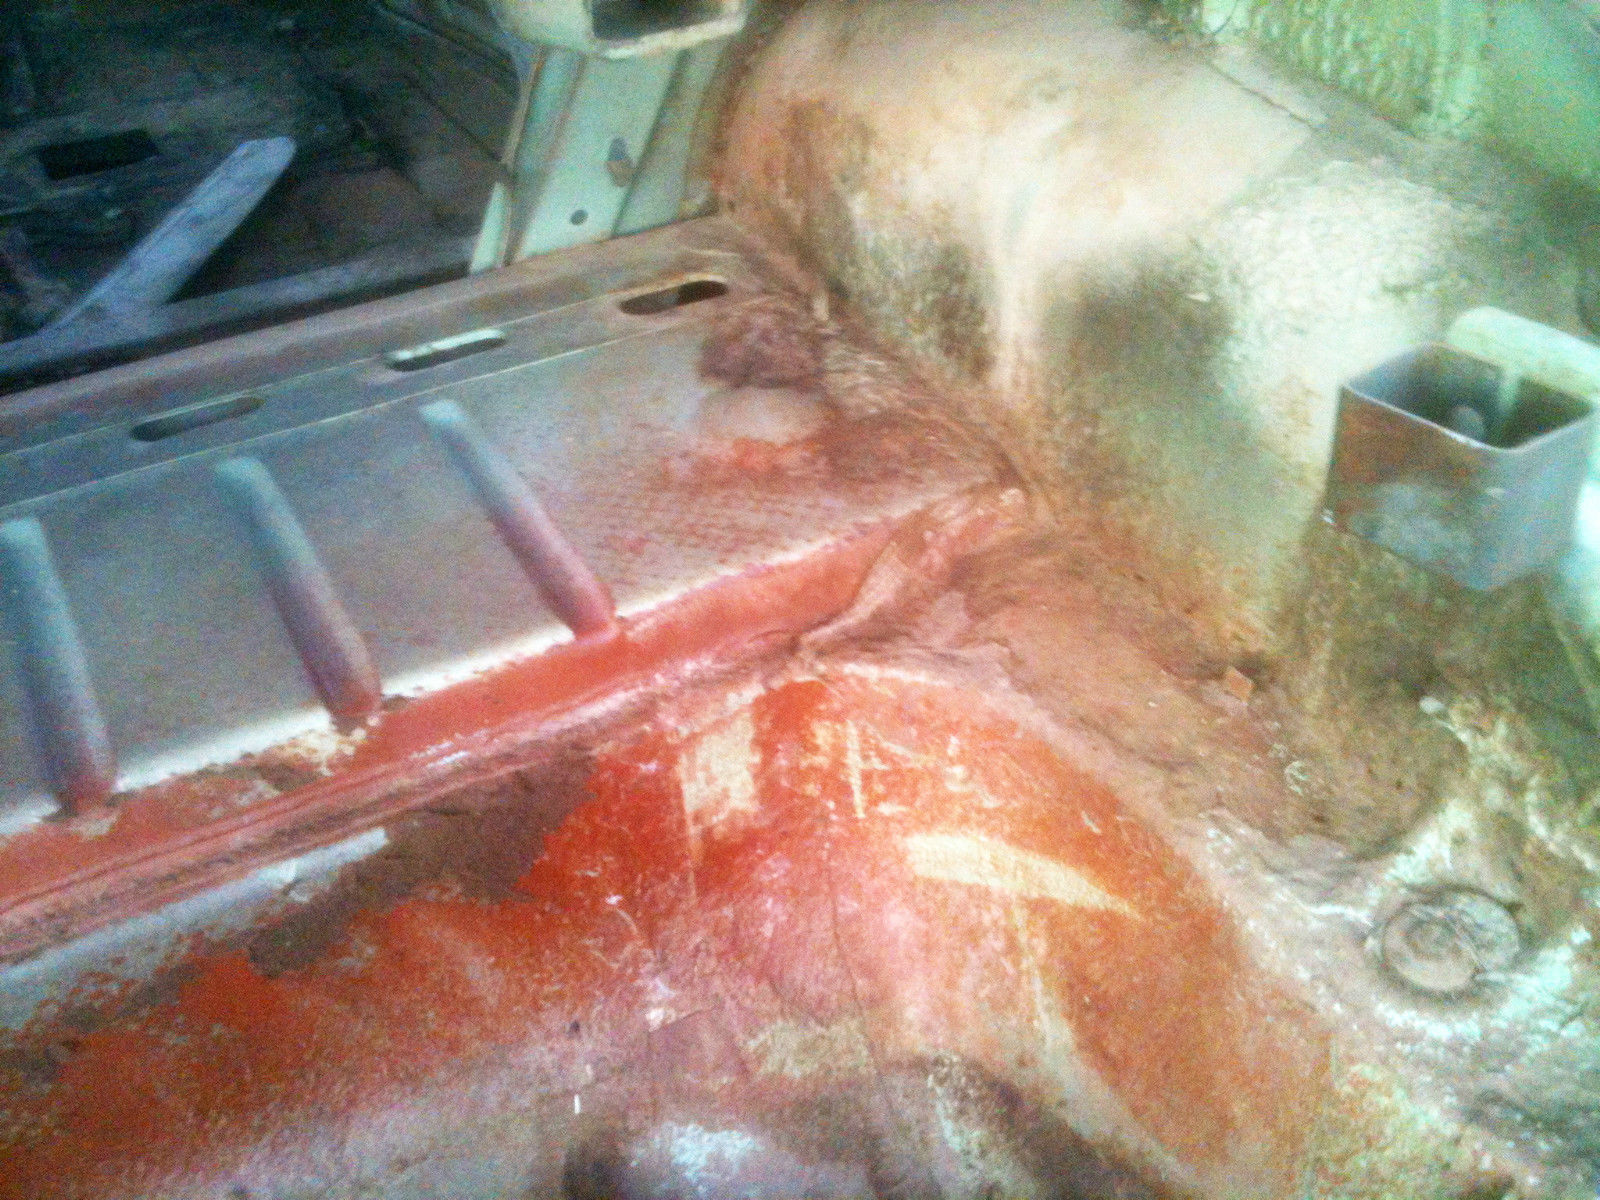
So with the forward wiring back in place, I started checking lights. Couldn't get too far, because the rear lights were shorting the fronts. So I proceeded with reworking the rear wiring harness, and by that I mean, from the instrument panel to the back of the car. There are 2 main bundles that route down the right side of the firewall, back along the passenger side floor to around the front seat, then straight back from front to rear seat (along the center "hump"), then into a box beam at the front edge of the back seat, with a few wires splitting to the right side of the car (right side dome light and right rear power window), with the rest going to the left side.
I picked a point to check the harness at the right side of the front seat. I cut into the insulation separated the bundles, de-coded the color coding on the wires, and stripped a spot on the brake light wire to see if voltage was getting that far. It was, but was shorting. I don't recall exactly how I figured it out, but the entire bundle had been eaten by rats inside that channel at the front of the back seat. So I pulled the bundle out each end of the box channel.
So I separated the forward end of the chewed-off bundle and probed each circuit. I could show good signals to that point (brake lights, marker lights, turn signals, reverse lights - and I didn't know it at the time, but dome light is in there as well). Power windows were in the other bundle. I figured out the power windows don't have a fuse (at least not on the fuse panel), and they appear to tie directly into the ignition key switch.
Using a temporary connection out front that provided power directly to the brake light line, I used the "hot" of the brake light line to diagnose the rear portion of the harness by touching and/or twisting the brake light wire to the other light circuits. Figured out the wiring in the trunk also had shorts and opens. The trunk wiring did not appear to be rat-chewed, but I have no idea what someone was thinking by the various wires that were pulled or cut apart. Using the brake light wire as "hot" from the front, I worked through splicing and/or reconnecting the trunk portion of the harness.
Once I had that, it was fairly simple to add new wire to the existing harness just forward of the rear seat - enough length to pass all the way through the box channel and rejoin the existing harness near the rear seat back. I wrapped the extended forward harness for permanent installation into the box channel (and after much cleaning of the channel by pulling a rag through it and using various hoses on the vacuum to clean it out), I threaded the harness through the channel then completed the splices to the rear harness.
Next major item was to get the engine to start. Brought the battery over from the 41D. Starter seemed really weak. Sprayed PB Blaster into the cylinders through the spark plug holes, and every 12 hours or so, turned the engine by hand a fraction of a turn via the bolt on the pulley at the front of the crank. Meanwhile, I sent the starter off for rebuild and started disassembling the brakes.
I got the starter back after a couple of weeks, and in the meantime I had replaced the brake wheel cylinders and cleaned up all of the existing brake parts.
With the rebuilt starter back in, the engine started fairly easily by filling the carb float bowl via some fuel line and a small funnel (filter on that line). I was surprised the ignition side of things didn't need more work - I had bought a new coil (original missing), some plug wires (originals missing), and obviously the wiring harness wires.
I'll have to check my build thread on the AACA forum, but also in this time of finishing wiring, having the starter rebuilt, and getting the engine started, I had to get a new starter relay. This is a relay between the carburetor start switch and the starter solenoid. I guess the system needed that extra step so the switch on the carb could be very light (small wires). I got lucky to find a NOS starter relay - I believe these were used for maybe 2 years on Buick and Cadillac only - no modern-day supplier for these. Though I guess if I had to, I could have found some other type of relay that would work.
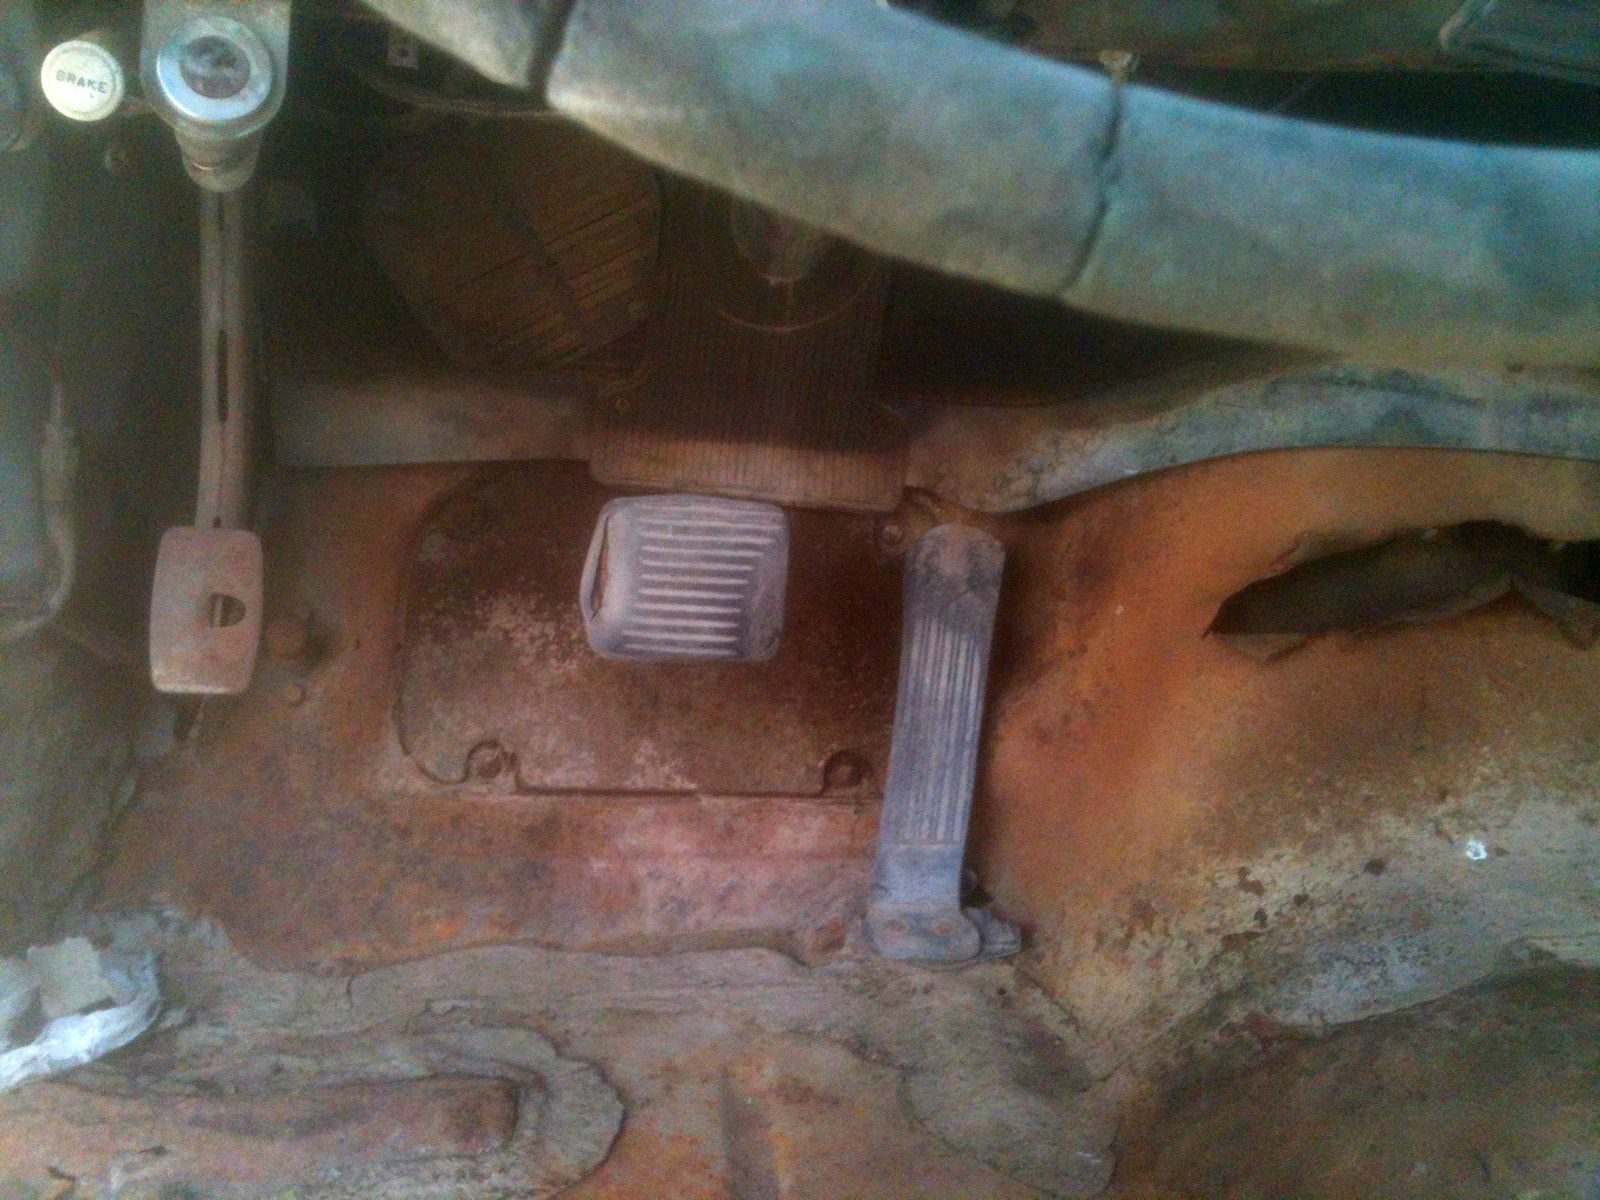
Also had to find a replacement ignition key switch. Watching the auctions, I finally found one that was correct for this car and came with the key. Got that swapped out as well. Yet another switch in the start chain that I had to find and replace was the neutral safety switch. This one only completes the start circuit when the shifter is in park or neutral. So the start ciruit (that I had to replace or have rebuilt) is - the ignition key switch, the neutral safety switch, the carburetor start switch, the starter relay, and the starter/solenoid. But I found all that stuff, and it all works! So when you see one of these, and it's still got the "foot pedal" start, that's a lot of stuff that's working to let that engine crank.
Anyway, I've run the engine a few times just on gas in the carb float bowl. It cranks slow, but starts easily. I replaced the trans coolant hoses and the radiator upper/lower hoses, and filled the coolant. It doesn't appear to leak coolant, but I haven't run it very much. One bummer is the freeze plugs that I replaced along the left side of the block are a little weepy.
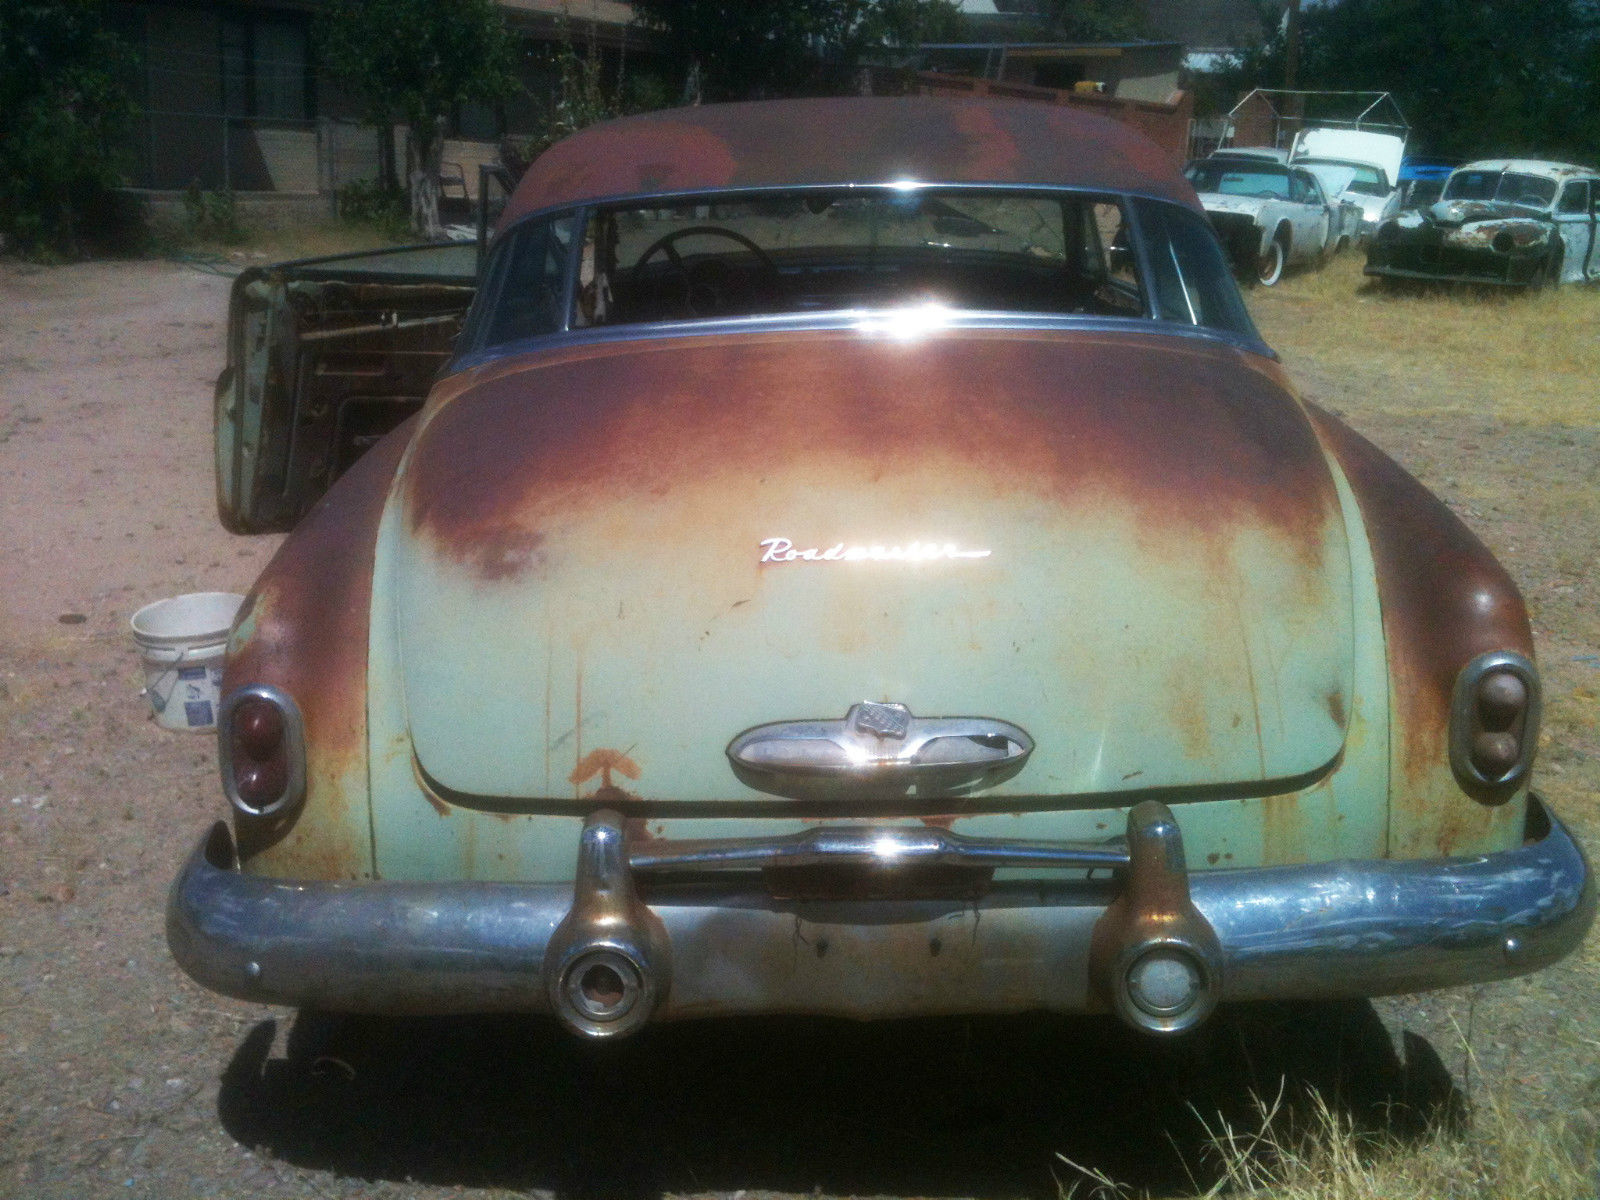
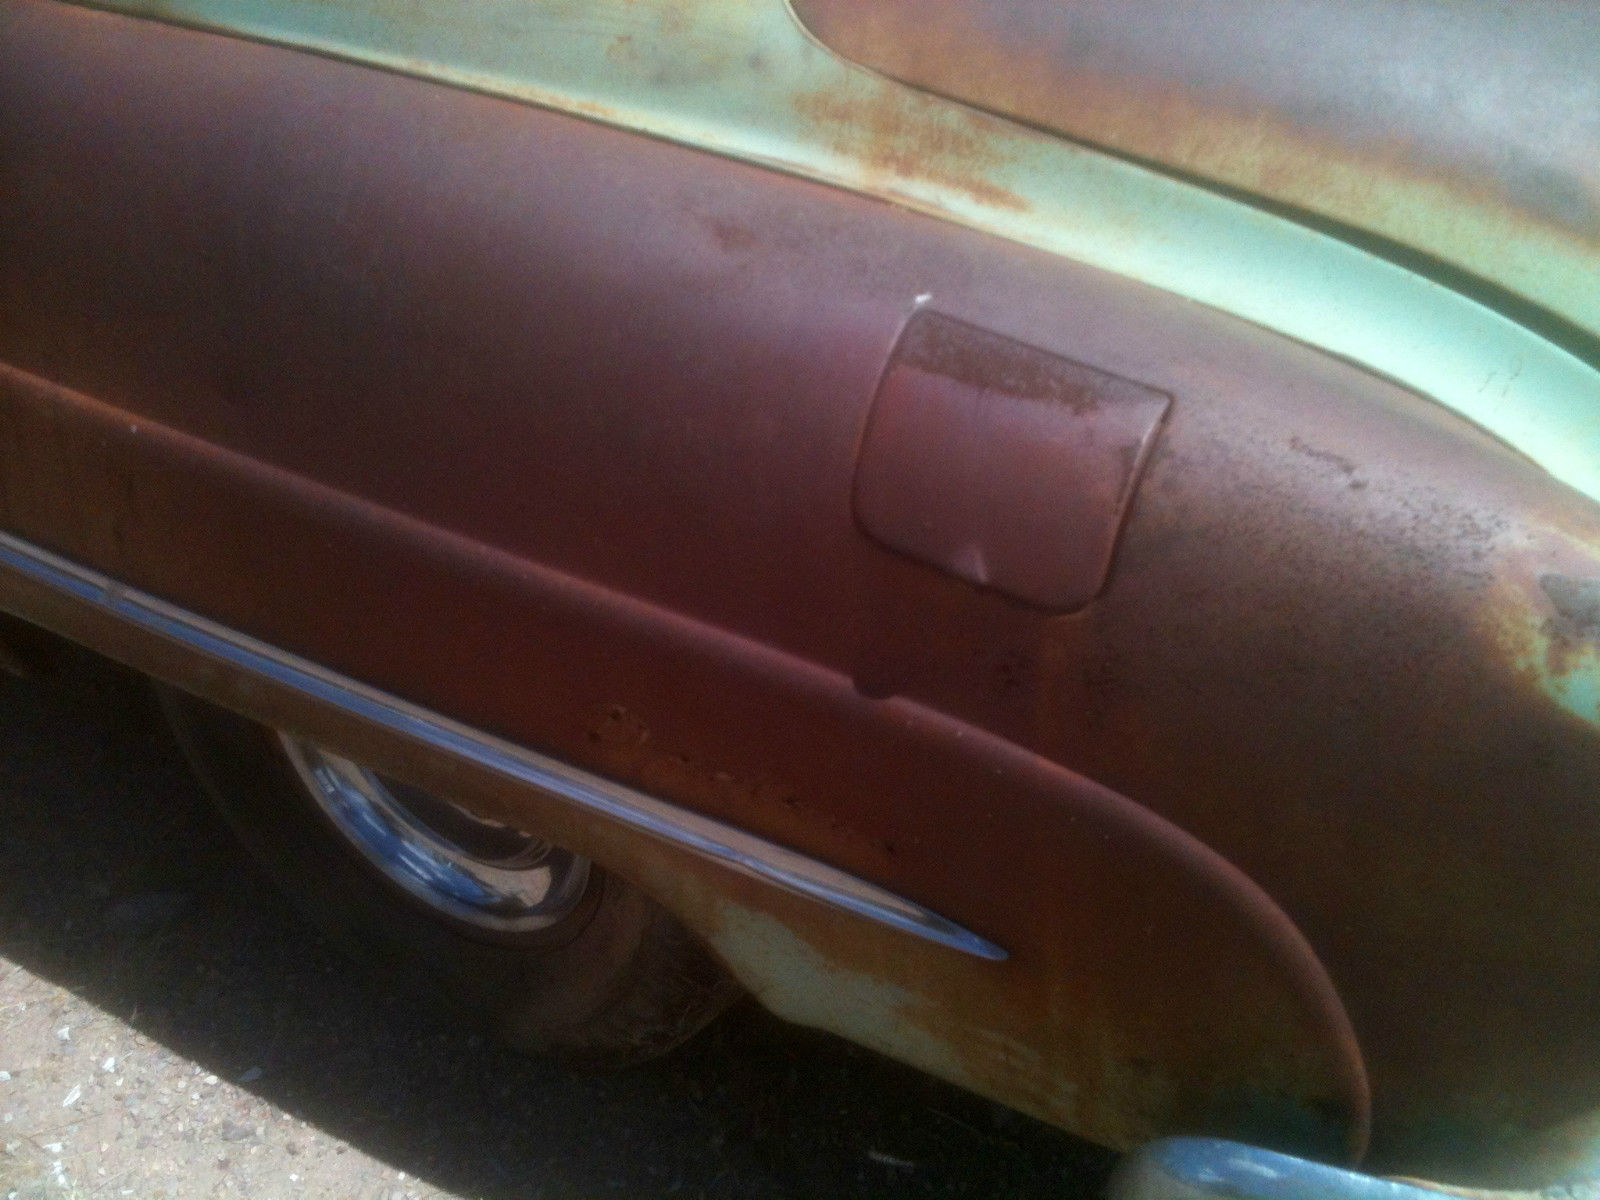
Other projects / things to find have included the trunk emblem / key surround. Found some repro DYNA FLOW lenses for that one, as well as a nicer trunk handle / lens housing. Found 5 of the 8 front fender "ventiport" port-hole trim parts. Found a nicer front hood emblem. Found a not-as-nice hood ornament, so I swapped the ornament off the 41D over to this car. Also found a rechromed hood ornament, but I'm not sure I like how the detail is smoothed off from the rechroming process, but it is VERY shiny.
Also found a rechromed front bumper, but that only leaves a gazillion other items to get rechromed.
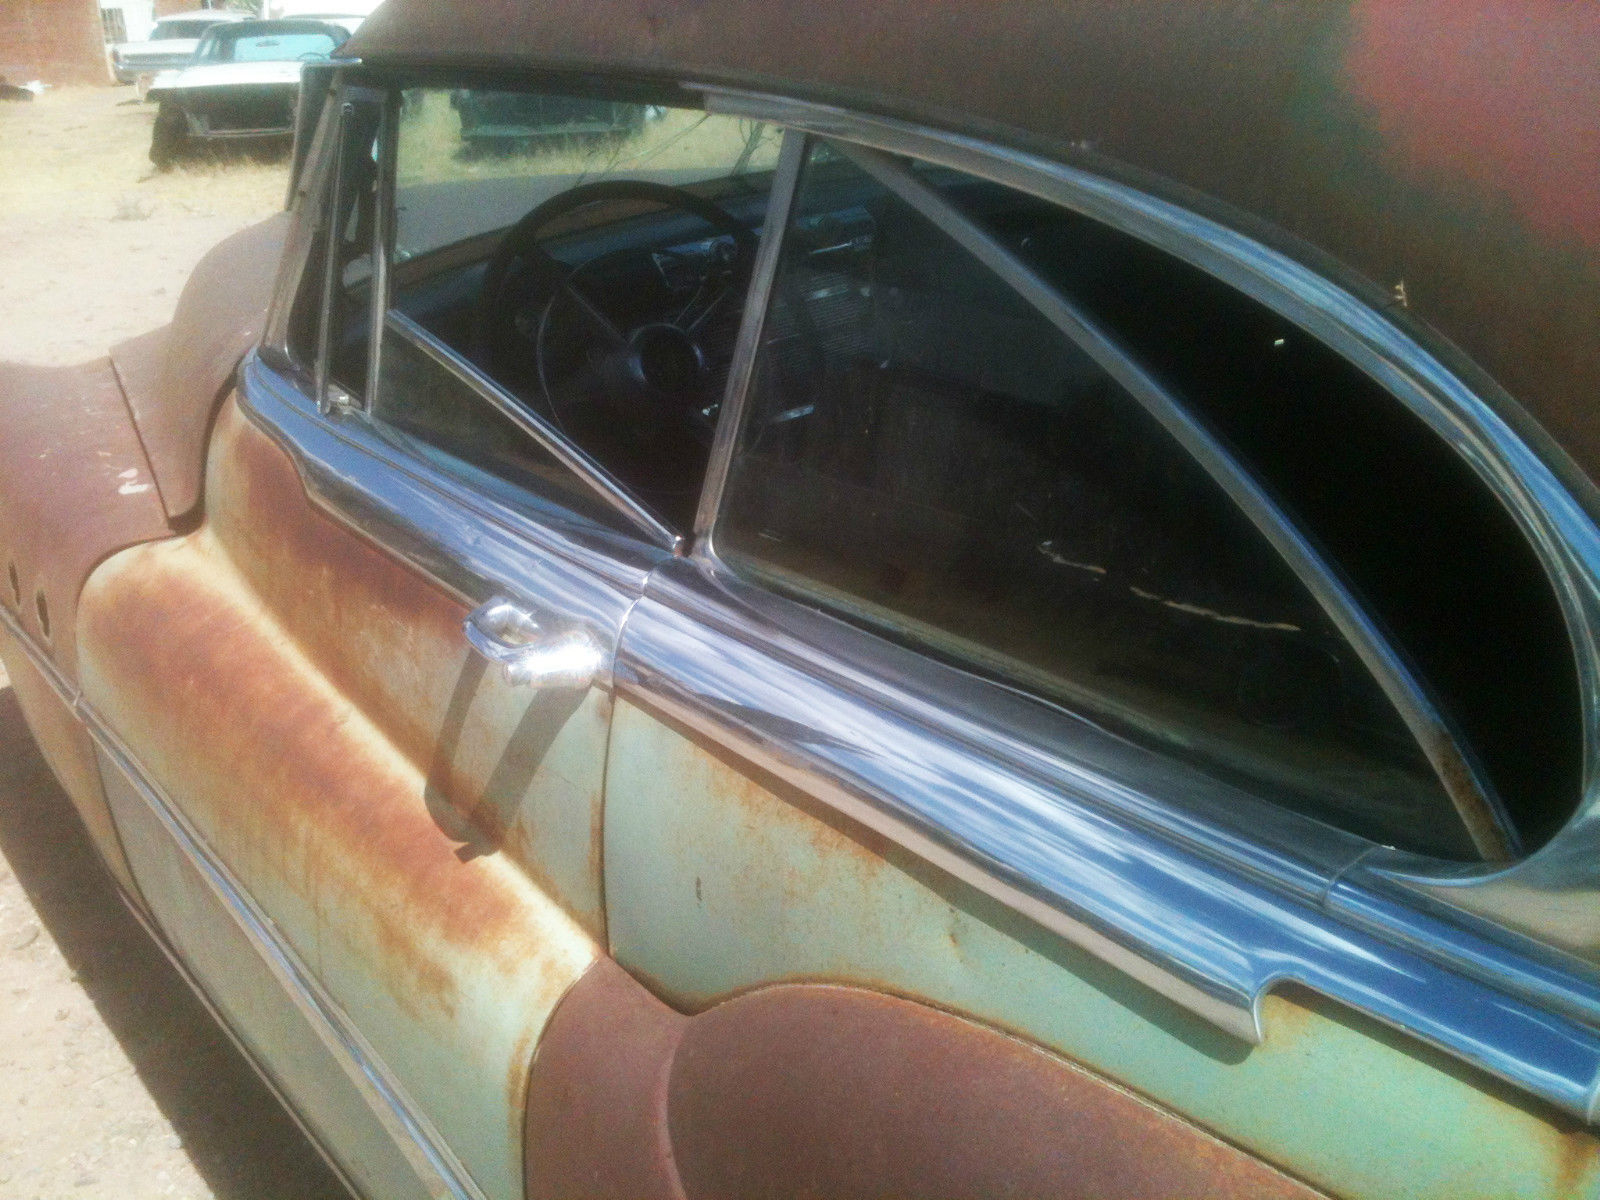
The interior roof of the 76R is something special. They didn't do this interior roof in any other model. AND ALL OF IT WAS MISSING. So chalk that up to yet something else I didn't know to look for. It features chrome trim above the windows (and inside the rear window), and these parts are mostly common with the 2-door hardtop Super for '51 and '52. I found a guy parting a '52 Super 2DHT on eBay. So I bought all those chromed parts. However, the 76R has chrome trim parts above the windshield that the Super doesn't have. I hope these are common with Cadillac, because I found someone parting a 2DHT Cadillac and I won the auction for those parts. The 76R also features the sun visors same as the convertible - supremely rare parts. But of all the stuff missing, those are with the car!
Further inside-the-roof parts include color-coordinated sheet metal trims above the chrome trims above the windows. That same Cadillac yielded those. I picked up some courtesy lights. There is no central single dome light in this model. There's a pair of courtesy lights, one on each side. Right and left are different. Left has a switch, so the back-seater on the left can turn the pair of lights on. I found a couple of these on ebay - turns out they were the wrong year - one was plainly a listing mistake (the seller didn't know what they had), and the second was me taking a guess. I was able to correctly identify and resell these, so no big loss. I paid good, though, for a pair from a 1953 Buick (same shape, but with 12V light bulb). These do not fit the Cadillac sheet metal exactly, so I may need to go back to the '53 Buick guy for the Buick sheet metal.
Yet further inside-the-roof parts on this model are three chromed bows that go across the roof to give the impression of convertible top structure. I believe these also came from that Cadillac.
Another part I had to source was a blue-tinted back window. The center section of the back window was shattered, and the curved side pieces are the blue-tinted "eze-eye" optional glass. The seller had provided a center back window glass, but it's clear, not tinted. I found a guy parting a 2DHT '51 or '52 Buick - maybe via ebay - and he had that blue-tinted glass. He sent that to me in about the worst packaging I've ever seen (wrapped in cloth then a halfway held-together cardboard over-wrap), and by some miracle, the shipper didn't break it! That's one tough glass.
So the overall lessons of all this are several. If you see a super-nice car at a show, it most likely started with a very nice version. Restorations from torn-apart mostly-missing stuff are MUCH harder. Especially when that car isn't a Ford, Chevy, or other widely-seen model. In searching the internet, I've found photos of about a half-dozen of these '51 76R's WORLDWIDE. There were another two that looked worse than mine (missing even more parts) that still show up in old ads, so who knows what they ever became (if anything more than parts cars for restoration of convertibles)...
Another lesson - if you DO see a car at a show, and it has a photo book or photo board showing it coming back from being found torn apart, have a lot of respect for what was accomplished there.